The Easiest Christmas Chocolate Fudge Recipe You’ll Make Over and Over Again
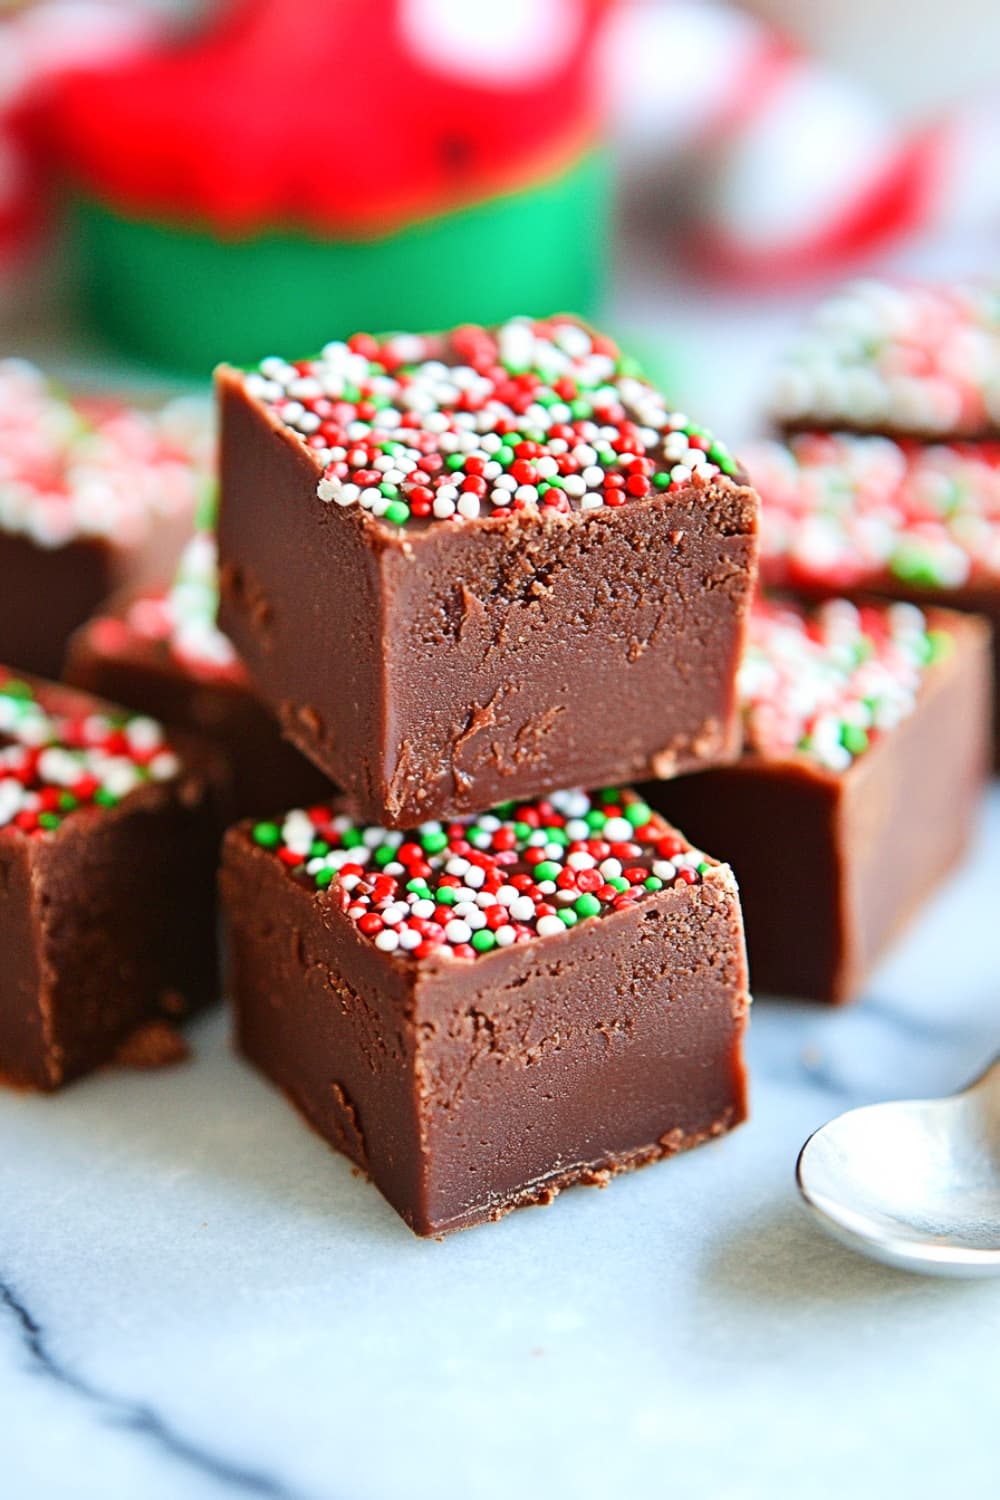
The holiday season is here, and there’s nothing like the smell of chocolate fudge filling the kitchen!
If you’re anything like me, you’ve probably waited until the last minute to whip up a sweet treat for your holiday gathering. But don’t worry—this recipe has you covered.
Why You’ll Love This Recipe:
- It’s an Easy Fudge Recipe that doesn’t require expert skills—perfect for any beginner!
- Uses simple ingredients, so no last-minute runs to the store.
- Can be customized with your favorite toppings—cranberries, caramel, or nuts!
- Perfect for gifting as Christmas Dessert Gifts or enjoying with a cup of hot cocoa.
Christmas Chocolate Fudge Recipe
Preparation Time: 10 minutes
Cooking Time: 10 minutes
Total Time: 20 minutes (+ 2 hours setting time)
Ingredients:
- 14 oz (400g) sweetened condensed milk
- 2 cups (340g) high-quality semi-sweet chocolate chips (or dairy-free chocolate chips for a vegan option)
- 1 tsp pure vanilla extract
- 2 tbsp butter (or coconut oil as a dairy-free alternative)
- Pinch of sea salt
- 1/4 cup red, green, and white holiday sprinkles (optional for decoration)
Instructions:
Step 1: Prepare the Pan
Start by lining an 8×8-inch square baking pan with parchment paper. Leave enough parchment hanging over the sides to make it easy to lift out the fudge once it’s set. This step is crucial to prevent the fudge from sticking to the pan.
Tip: For cleaner edges, smooth out any creases in the parchment paper before pouring in the fudge mixture.
Step 2: Melt the Ingredients Together
In a medium saucepan, combine the sweetened condensed milk, chocolate chips, butter (or coconut oil), and a pinch of sea salt. Place the pan on the stove over low heat. Stir constantly with a silicone spatula or wooden spoon, making sure to scrape the sides and bottom of the pan to prevent any burning or sticking.
Tip: Don’t rush this step. Melting the chocolate slowly over low heat ensures it melts smoothly and doesn’t burn. Keep stirring until the mixture is completely smooth, glossy, and lump-free.
Step 3: Add the Vanilla
Once the chocolate mixture is fully melted and has a rich, creamy consistency, remove the pan from the heat. Stir in the vanilla extract, mixing it thoroughly into the fudge. This enhances the flavor and gives the fudge a slightly more complex taste.
Tip: Be sure to add the vanilla off the heat to prevent it from evaporating, which could dull the flavor.
Step 4: Pour and Spread the Fudge
Immediately pour the fudge mixture into the prepared baking pan. Use a spatula to spread the mixture evenly, ensuring the top is smooth and leveled. Work quickly because the fudge will start to firm up as it cools.
Tip: For an ultra-smooth top, tap the pan gently on the counter to remove any air bubbles and to help the fudge settle.
Step 5: Decorate
While the fudge is still soft, sprinkle your holiday-themed sprinkles over the top. Gently press them down with the back of a spoon or your hands so that they stick well as the fudge sets.
Tip: This is your chance to get creative! You can also swirl melted white chocolate on top, sprinkle crushed candy canes, or add chopped nuts for extra flavor and crunch.
Step 6: Let the Fudge Set
Allow the fudge to cool at room temperature for about 30 minutes. Once cooled, transfer the pan to the refrigerator and let it chill for at least 2 hours, or until the fudge is firm to the touch.
Tip: For clean and sharp slices, allow the fudge to set fully in the fridge. It will be much easier to cut once it’s properly firm.
Step 7: Slice and Serve
Once the fudge is set, remove it from the pan using the parchment paper overhang. Place it on a cutting board and, using a sharp knife, cut the fudge into small squares. Clean the knife with a warm, damp cloth between each cut for neat, smooth edges.
Tip: If you want perfectly uniform pieces, use a ruler to measure and mark where you’ll cut each square before slicing.
Notes to Remember:
- Allergen Alternatives: Use dairy-free chocolate chips and coconut oil to make this recipe vegan-friendly.
- Setting Time: Make sure the fudge is fully set before cutting, as this ensures cleaner slices and firmer pieces.
- Storage: Store the fudge in an airtight container in the fridge for up to 2 weeks. You can also freeze it for up to 3 months.
Additional Clarifications and Instructions:
- Ensure Even Melting: One thing I might clarify further is the importance of constant stirring during the melting process, especially when using a double boiler or low heat on the stovetop. This helps prevent scorching and ensures that the mixture is evenly smooth.
- Using a Thermometer: While the recipe works well as written, using a candy thermometer to monitor the temperature of the fudge mixture could be beneficial for those who want to ensure precision. Ideally, the mixture should not exceed 235°F (113°C), as going too high can affect the texture of the fudge.
- Room Temperature Ingredients: It’s important to use room-temperature butter and sweetened condensed milk. Cold ingredients may cause the mixture to seize or create lumps.
- Cooling Time: After pouring the fudge into the pan, it is critical to let it cool at room temperature before refrigerating it. Cooling it too fast in the fridge may affect the texture and cause condensation to form.
- Extra Point for Success: One tip for ensuring even slices is to warm the knife before cutting the fudge. Dip the knife in hot water, wipe it dry, and then slice. This technique prevents the fudge from cracking and gives clean, sharp edges.
Garnishing & Decoration Options:
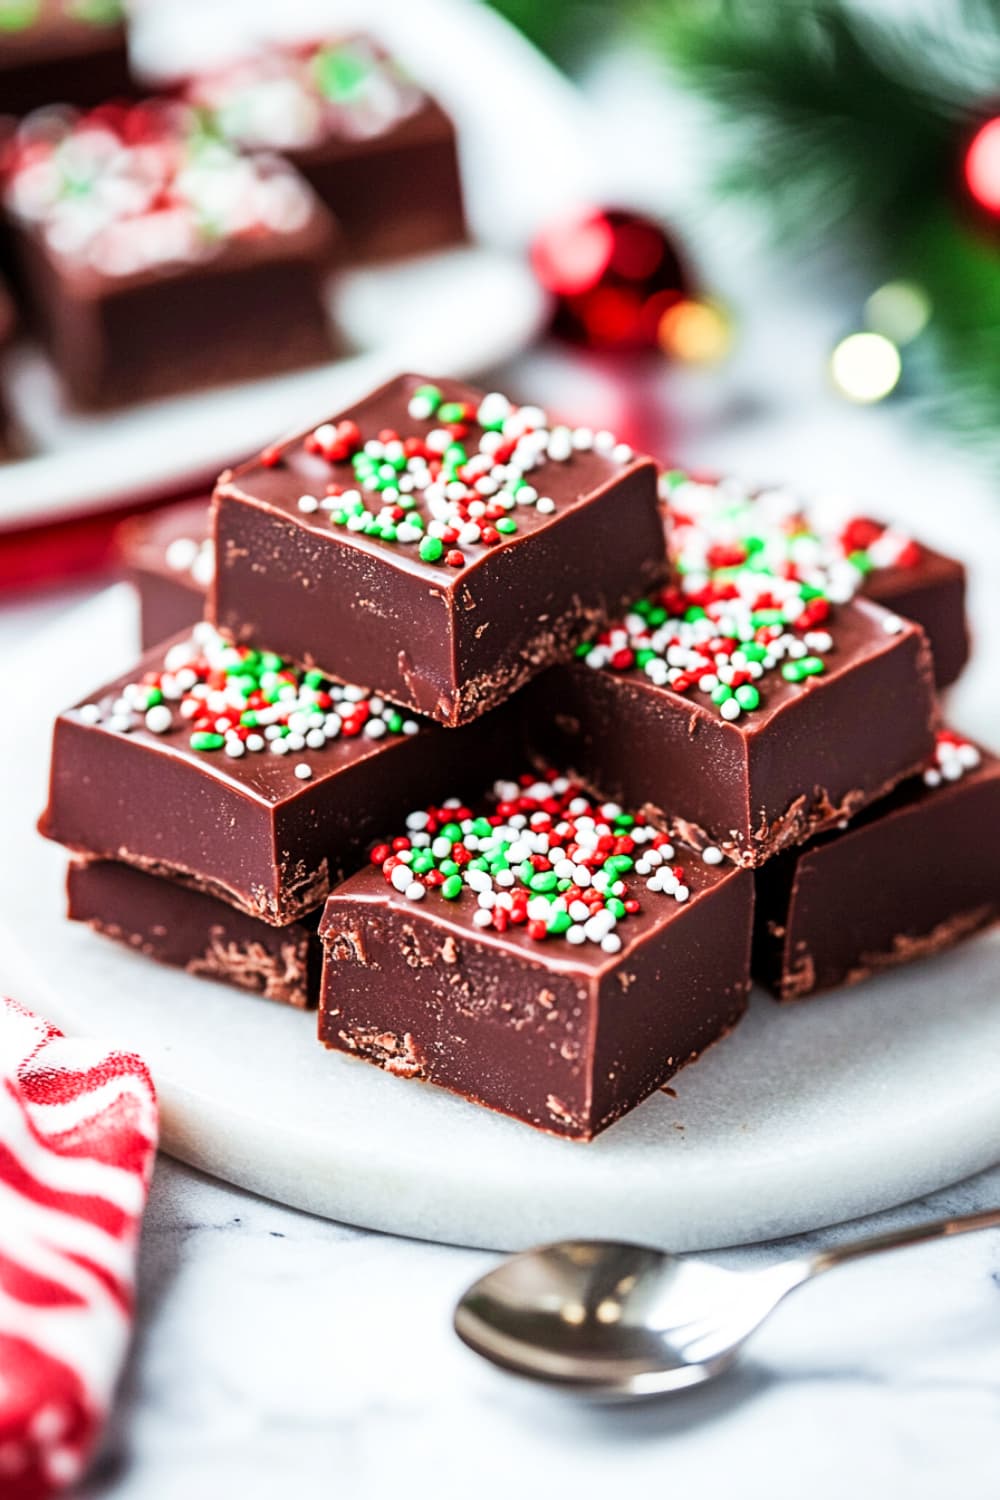
- Sprinkles and Edible Glitter: As shown in the reference image, holiday-themed sprinkles (red, green, white) are classic and visually appealing. You can also add edible glitter to make the fudge stand out more.
- Crushed Candy Canes: Adding crushed candy canes on top of the fudge before it sets adds a festive, crunchy texture and a hint of mint flavor. This would give the fudge a beautiful, sparkly red-and-white pattern that’s perfect for Christmas.
- Drizzled Chocolate or Caramel: Drizzle melted white chocolate or caramel in zigzag patterns on top of the fudge. This creates a more professional, gourmet appearance while adding another flavor dimension.
- Nuts and Dried Fruit: Chopped walnuts, almonds, or dried cranberries can be sprinkled on top to give the fudge a textured, rich appearance. This also adds depth to the flavor.
- Mini Marshmallows and Pretzels: Sprinkle mini marshmallows or crushed pretzels over the fudge before it sets for a festive, fun, and kid-friendly appearance.
- White Chocolate Swirl: Create a marble effect by swirling melted white chocolate into the fudge mixture. This would give a striking contrast between the dark fudge and white swirls.
- Holiday Cookie Cutters: Use festive holiday-shaped cookie cutters (like stars, trees, or snowflakes) after the fudge sets to make individual-shaped pieces for serving. This would give a playful twist and make the fudge more fun for kids and parties.
Mistakes To Avoid While Making the Dish
- Ingredient Selection:
-
- Using low-quality chocolate chips can lead to grainy or overly sweet fudge. Opt for semisweet or dark chocolate for a balanced flavor.
- Be cautious of overheating the chocolate. Melting it too fast or at high heat can cause it to burn or seize.
- Preparation Pitfalls:
-
- Stir constantly while melting the chocolate mixture. If you leave it unattended, the chocolate might burn or harden unevenly.
- Use room-temperature butter to avoid lumps. Cold butter may not melt evenly, affecting the texture.
- Cooking Techniques:
-
- Avoid cooking over high heat. Low and slow is the key to achieving smooth fudge.
- If your fudge turns out too soft, it might not have cooked long enough, or the cooling time was too short. Allow sufficient time for setting.
- Seasoning and Flavoring:
-
- If you’re adding extra flavorings like peppermint or coffee extract, use them sparingly. Overdoing it can overpower the chocolate.
- Ensure the vanilla is added at the end once off the heat to maintain its aroma.
- Presentation Tips:
-
- Don’t cut the fudge while it’s still warm; you’ll end up with crumbly, uneven pieces.
- For clean cuts, use a warm knife by dipping it in hot water, and then wiping it dry before slicing.
Pairing Suggestions, and Seasonal Variations
Pairing Suggestions:
-
- Serve with a warm cup of coffee or hot chocolate for an indulgent treat.
- Pair with a side of cranberry or raspberry sorbet to balance the richness of the fudge with something tart.
Seasonal Variation:
-
- For fall, consider adding pumpkin spice or cinnamon to the fudge.
- For spring, top with pastel-colored sprinkles or edible flowers to freshen the look.
Tips for Making Christmas Chocolate Fudge
- Use Quality Chocolate: The key to perfect fudge is starting with high-quality chocolate. Choose semisweet or bittersweet chocolate chips with at least 60% cocoa content for a rich, smooth texture.
- Avoid Overheating: Chocolate can burn easily, so melt the chocolate over low heat and stir continuously. If you’re using a microwave, heat in short intervals (30 seconds), stirring in between.
- Use Sweetened Condensed Milk: This ingredient ensures a creamy, soft fudge that holds its shape. Avoid using evaporated milk or regular milk as they won’t achieve the same consistency.
- Add a Touch of Salt: A pinch of sea salt in the fudge mix enhances the chocolate flavor and balances out the sweetness. Salted toppings, like pretzels or salted caramel drizzle, can also create a contrast in flavors.
- Chill Time is Key: Allow the fudge to cool completely at room temperature before refrigerating it for at least 2 hours. This will help it set properly, making it easier to cut cleanly.
- Cut with Precision: Use a sharp knife dipped in warm water to slice the fudge into neat squares. Wipe the knife clean between cuts for a smooth, professional look.
FAQs
- Can I substitute the semisweet chocolate chips with milk chocolate? Yes, you can use milk chocolate, but it will make the fudge sweeter. You can also mix milk chocolate with dark chocolate to balance the sweetness.
- What should I do if my fudge turns out too soft? If the fudge is too soft, it may not have chilled long enough. Place it in the freezer for an additional 30 minutes. Avoid adding too much sweetened condensed milk as it can affect the consistency.
- Can I make this recipe dairy-free? Absolutely! Substitute the sweetened condensed milk with coconut condensed milk and use dairy-free chocolate chips for a vegan version.
- How long does this fudge last? Store the fudge in an airtight container in the refrigerator for up to 2 weeks. You can also freeze it for up to 3 months, but let it thaw in the fridge before serving.
- Can I add extra flavors like mint or coffee? Yes, you can add 1 teaspoon of peppermint extract for a festive flavor or a tablespoon of instant coffee granules dissolved in a small amount of water for a mocha twist.
Closing Thoughts
This Christmas Chocolate Fudge is not only rich and delicious, but it’s also incredibly simple to make.
Whether you’re planning to enjoy it with family or gift it to friends, it’s sure to spread holiday cheer.
I’d love to hear how your fudge turns out—please feel free to leave a comment or share your creation on social media. Your feedback is what makes this recipe experience even more joyful!
Happy holiday baking!
Christmas Chocolate Fudge
Ingredients
- 2 cups 475 ml semisweet chocolate chips
- 1 can 14 oz / 395 g sweetened condensed milk
- 2 tbsp 28 g unsalted butter (use dairy-free butter for vegan option)
- 1 tsp vanilla extract
- Holiday-themed sprinkles or crushed candy canes, nuts for decoration
Instructions
- In a saucepan, combine the chocolate chips, condensed milk, and butter over low heat. Stir constantly until fully melted and smooth.
- Remove from heat and mix in the vanilla extract.
- Pour the mixture into a lined 8x8-inch (20x20 cm) baking pan.
- Smooth the top with a spatula and add holiday-themed sprinkles.
- Let the fudge cool at room temperature, then refrigerate for 1-2 hours or until firm. Cut into squares and serve.

