How to Make Pumpkin Scones So Good, You’ll Never Buy Store-Bought Again
There’s something about the aroma of fresh-baked pumpkin scones wafting through your kitchen that makes a chilly fall morning instantly better.
If you’re like me, you probably love the cozy flavors of fall but want something simple to whip up. This Pumpkin Scones Recipe hits all the right notes—comforting, flavorful, and perfect for those laid-back weekends when you’re craving a homemade treat.
Not only is it an Easy Scones Recipe, but I’ve added some unique twists to make them healthier and more fun to bake.
Why You’ll Love This Recipe:
- Simple ingredients: This is a Scones Recipe Easy enough for beginners, with no fancy tools required.
- Healthy swaps: Includes options for using Stevia Recipes or other natural sweeteners without compromising taste.
- Fall-perfect flavors: The pumpkin spice blend makes these scones the ultimate Fall Baking Recipes.
- Versatile serving: Pairs well with your morning coffee or as an afternoon snack, just like those Starbucks Pumpkin Scones you love.
Pumpkin Scones Recipe
Preparation Time: 15 minutes
Cooking Time: 20 minutes
Total Time: 35 minutes
Ingredients:
- 1 cup (240g) all-purpose flour (substitute with gluten-free flour blend for a gluten-free option)
- 1/4 cup (50g) brown sugar (or use Stevia for a sugar-free option)
- 1 tsp baking powder
- 1/2 tsp baking soda
- 1/2 tsp cinnamon
- 1/4 tsp ground ginger
- 1/4 tsp nutmeg
- 1/4 tsp salt
- 1/2 cup (120g) pumpkin purée (preferably fresh, but canned is fine)
- 1/4 cup (60ml) Greek yogurt (substitute with dairy-free yogurt for lactose intolerant or vegan option)
- 1/4 cup (60g) unsalted butter, chilled and cubed (use plant-based butter for a vegan alternative)
- 1 large egg (substitute with flaxseed egg for a vegan option)
- 1 tsp vanilla extract
- 2 tbsp milk (substitute with almond milk or other plant-based milk for dairy-free)
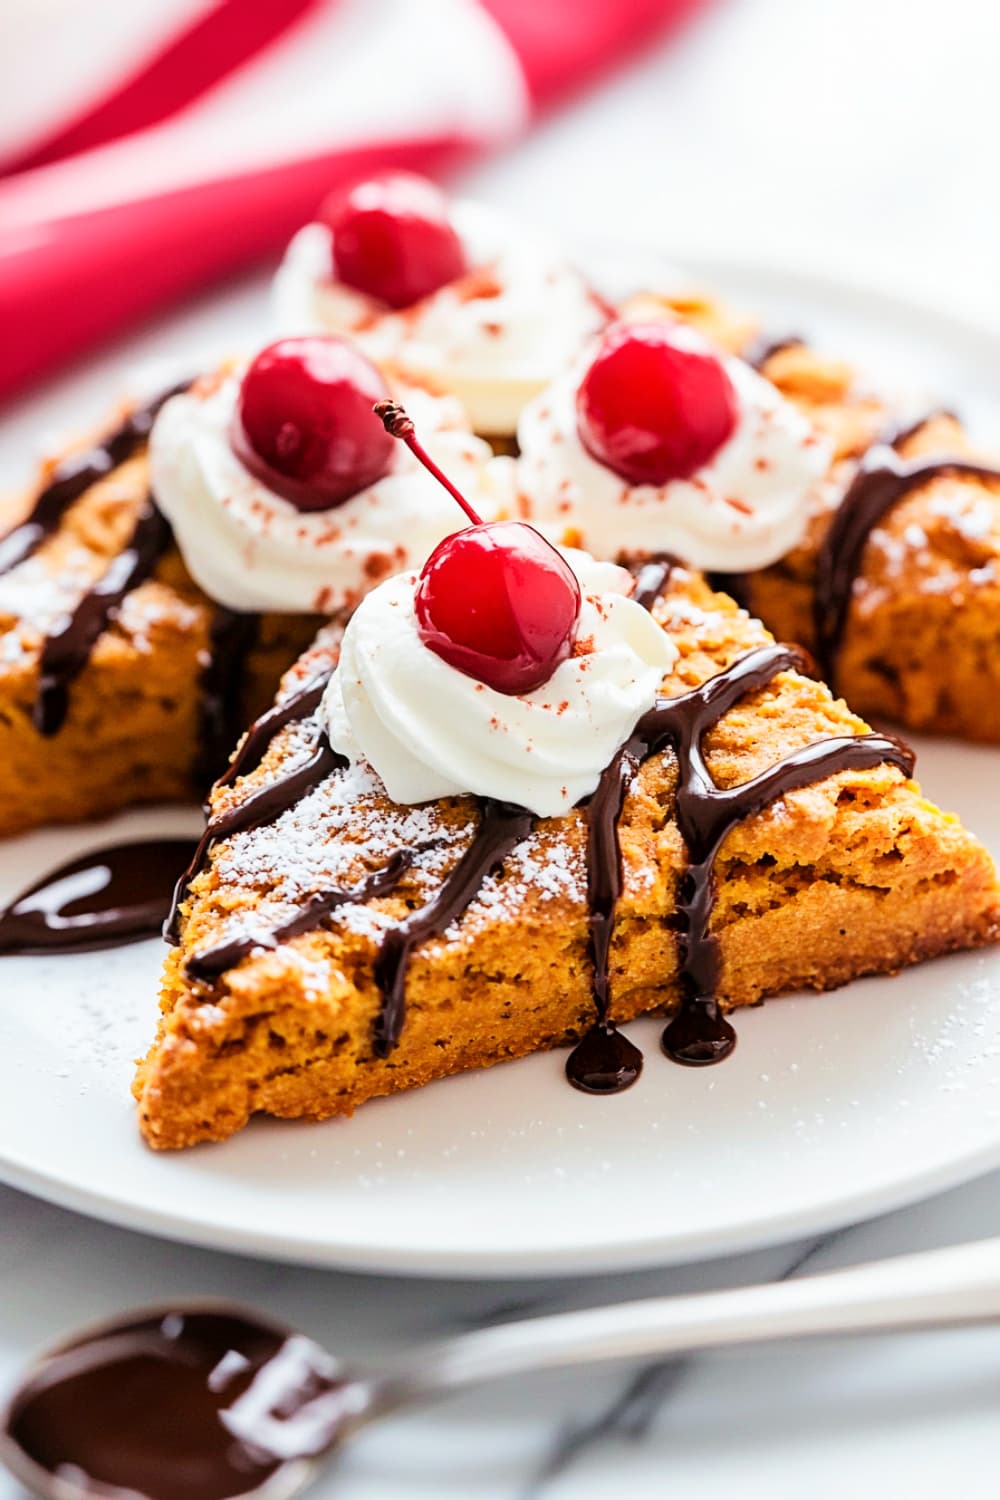
- Cream and chocolate syrup
- Cherries

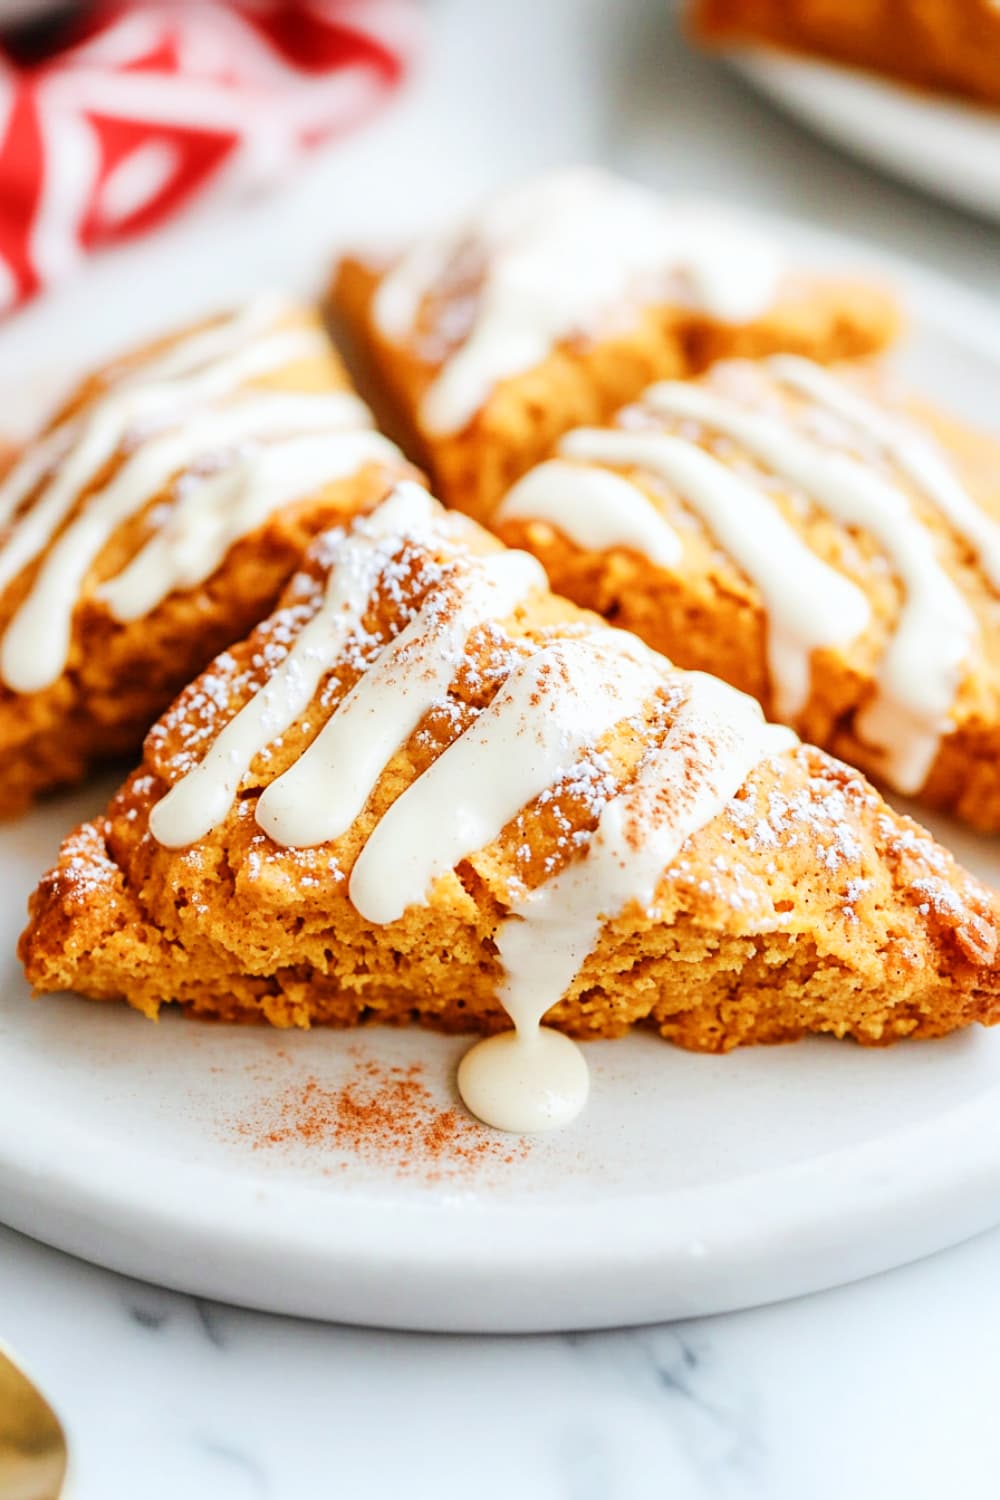
Optional Glaze:
- 1/2 cup powdered sugar (use Stevia-based powdered sweetener for sugar-free)
- 2 tbsp milk (or plant-based milk)
- Cashew nuts 10 to 15.
- 1/4 tsp cinnamon
- Choco syrup and cherries.
Instructions:
- Preheat the Oven: Set your oven to 400°F (200°C) and line a baking sheet with parchment paper.
-
- Tip: Preheating ensures your scones rise properly without getting soggy.
- Mix Dry Ingredients: In a large bowl, whisk together the flour, baking powder, baking soda, spices, and salt.
-
- Tip: Sifting the flour helps make the scones lighter, but if you’re short on time, whisking is fine.
- Cut in the Butter: Add the chilled, cubed butter to the flour mixture. Use a pastry cutter or your hands to mix until the texture resembles coarse crumbs.
-
- Tip: Make sure the butter is cold, as this gives the scones their flaky texture.
- Combine Wet Ingredients: In a separate bowl, whisk together the pumpkin purée, Greek yogurt, egg, and vanilla extract.
-
- Tip: If using dairy-free substitutes, whisk them well to avoid separation.
- Form the Dough: Gradually pour the wet mixture into the dry ingredients. Stir just until combined and a dough forms.
-
- Tip: Avoid overmixing, as this will make the scones tough.
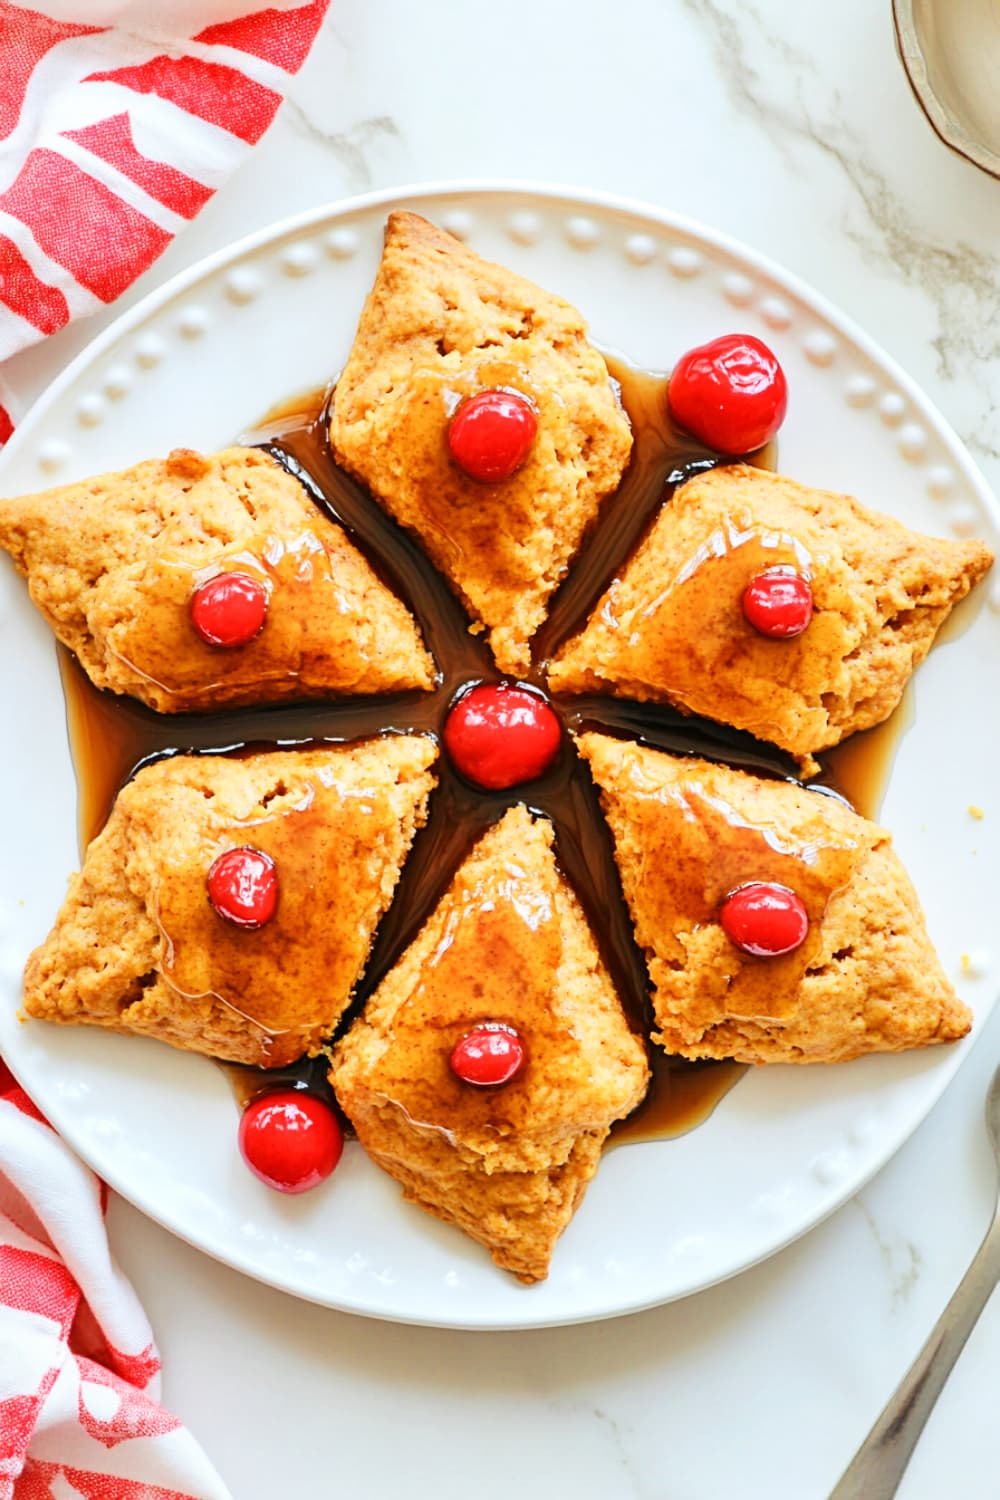
- Shape the Scones: Transfer the dough to a lightly floured surface and pat it into a round, about 1-inch thick. Use a knife or pastry cutter to slice it into 8 equal triangles.
-
- Tip: You can refrigerate the dough for 10 minutes before baking to keep the butter cold, resulting in flakier scones.
- Bake: Place the scones on the prepared baking sheet and brush with a little milk for a shiny finish. Bake for 18-20 minutes or until golden brown.
-
- Tip: Check at 15 minutes to ensure they don’t overbake.
- Optional Glaze: While the scones cool, whisk together the powdered sugar, milk, and cinnamon for the glaze. Drizzle over the cooled scones.
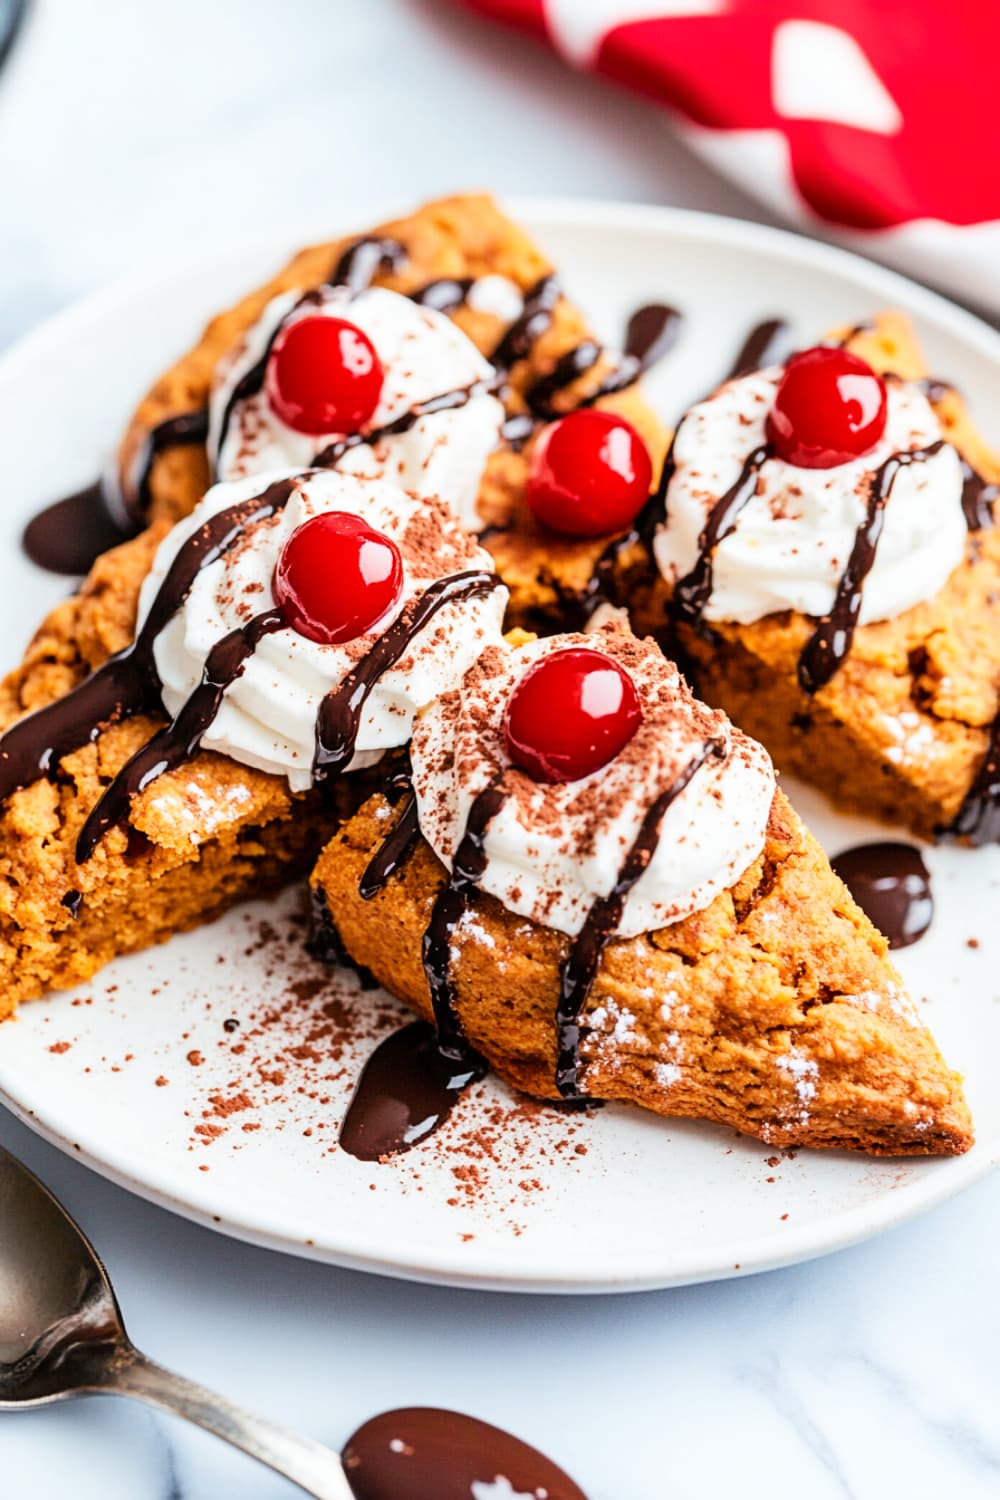
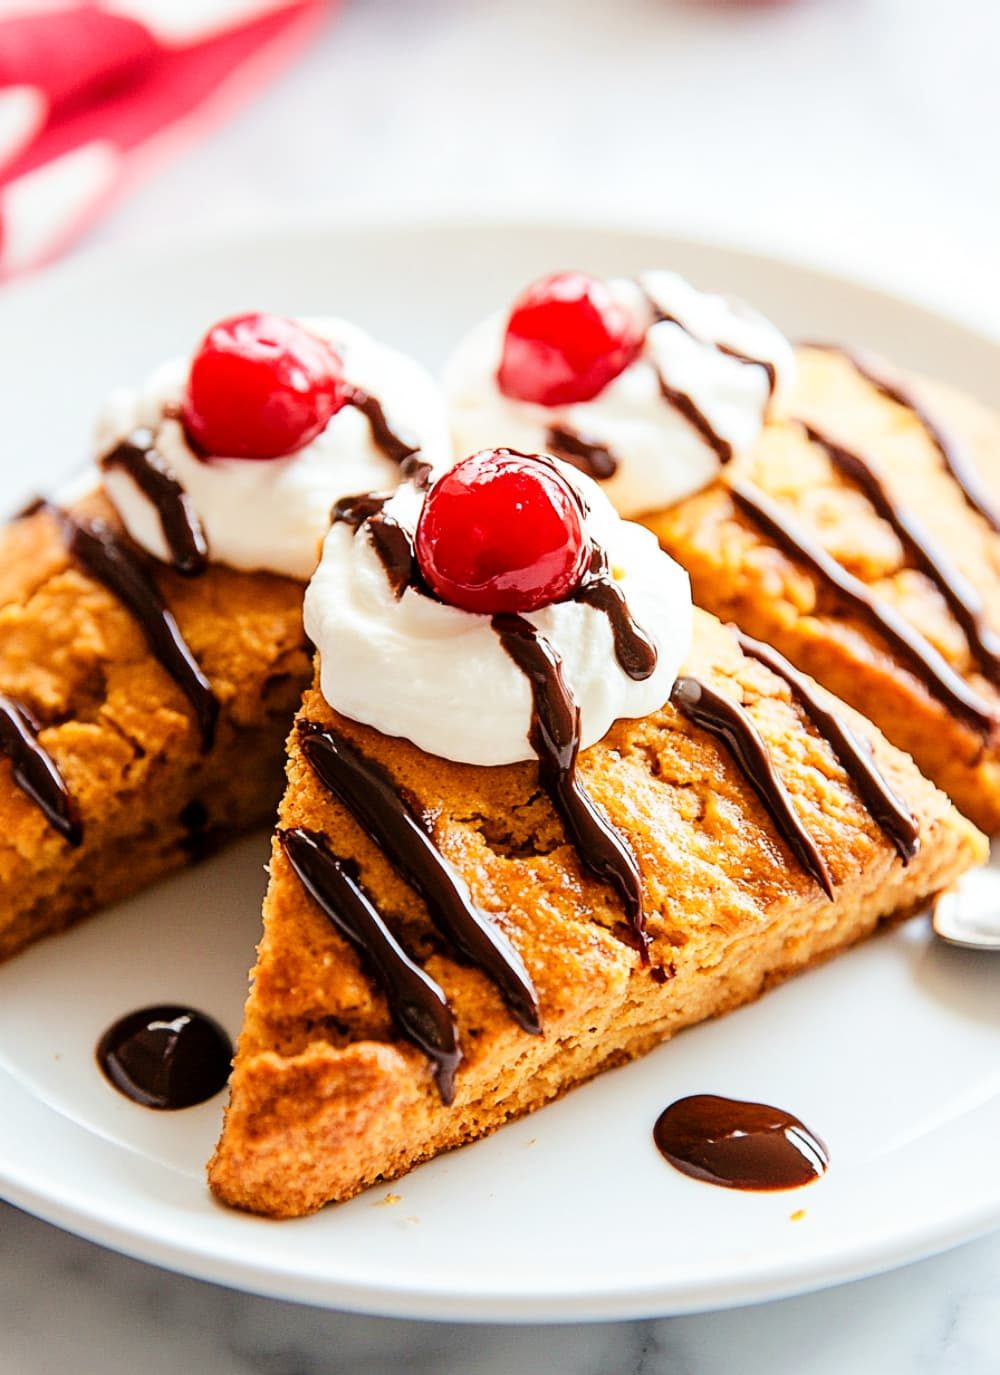
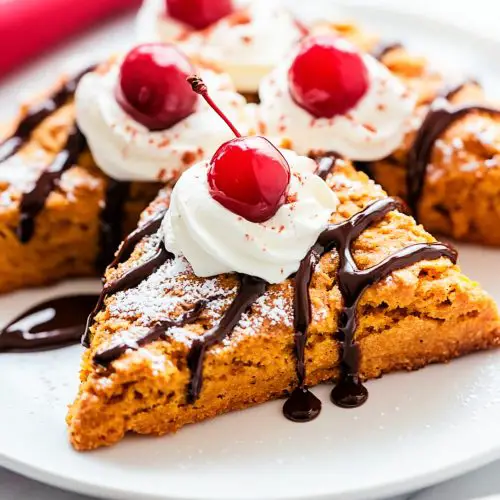
Or simply drizzle over chocolate syrup if you are in a hurry. Give a final touch with cherries.

-
- Tip: For a more indulgent twist, add white chocolate chips to the glaze.
Mistakes to Avoid While Making Scones:
- Overworking the Dough: This leads to dense scones. Mix until just combined.
- Not Chilling the Butter: Warm butter melts too quickly, ruining the texture.
- Skipping the Glaze: While optional, it adds a delightful touch of sweetness that balances the spices.
- Too Dry: If your scones turn out too dry, it may be because of overmixing. Next time, try handling the dough less.
- Not Rising: If they don’t rise enough, your baking powder might be expired. Always check its freshness before baking.
Some Insights on Pumpkin Scones
Pairing Suggestions:
- Coffee or Tea: A cup of black coffee or chai tea pairs beautifully with these spiced pumpkin scones.
- Fruit Salad: A refreshing fruit salad on the side adds a fresh contrast to the richness of the scones.
Seasonal Variations:
- Fall: Stick to the warm spices like cinnamon, ginger, and nutmeg.
- Spring/Summer: Swap the pumpkin for mashed sweet potato or zucchini for a lighter, seasonal twist.
Fun Fact:
- Did you know that scones originated in Scotland and were originally made with oats? Now, they’re a staple in many parts of the world, including the U.S.!
Pro Tips For Making Scones:
- Cold Ingredients:
Always use cold butter, yogurt, and milk to ensure flaky scones.
- Freezing the Dough:
Freeze the scones for 10 minutes before baking to help them rise better.
- Don’t Overmix the Dough:
Scones benefit from a light touch. Mix the dough just until combined to prevent overworking the gluten, which can make your scones tough instead of tender. For the best texture, aim for a shaggy dough that still has visible bits of butter.
- Use a Pastry Cutter or Grater for the Butter:
If you don’t have a pastry cutter, use a box grater to grate the cold butter directly into the flour mixture. This makes it easier to incorporate and helps create the flaky layers scones are known for.
- Brush with Cream or Milk for a Golden Finish:
Before baking, brush the tops of the scones with a little cream or milk. This helps them turn golden brown and gives them that professional bakery appearance.
- Don’t Twist the Cutter:
When cutting out scones with a biscuit cutter, press down firmly but don’t twist the cutter. Twisting seals the edges, which can prevent the scones from rising properly. Straight cuts help them rise taller and fluffier.
- Add Mix-ins for Texture:
For added texture and flavor, fold in mix-ins like chopped nuts, chocolate chips, or dried cranberries. These extras make the scones even more exciting, while pairing beautifully with the pumpkin flavor.
- Let Them Cool Slightly Before Icing:
If you’re drizzling a glaze over your scones, let them cool for about 10 minutes after baking. This prevents the glaze from melting off and gives the scones time to settle.
FAQs About Pumpkin Scones:
- Can I make these scones ahead of time?
- Absolutely! You can prepare the dough, shape the scones, and freeze them unbaked. When you’re ready to bake, simply transfer them directly from the freezer to the oven, adding a couple of extra minutes to the baking time.
- What’s the best substitute for dairy?
- You can use dairy-free butter or coconut oil, and swap milk or cream with almond milk or oat milk for dairy-free pumpkin scones that are still rich and flavorful.
- Why are my scones dense instead of light and fluffy?
- This often happens if the butter melts before baking or if you overwork the dough. Make sure to keep your ingredients cold, use a light touch when mixing, and avoid over-kneading the dough.
- How should I store leftover scones?
- Keep them in an airtight container at room temperature for up to 2 days. You can also freeze baked scones and reheat them in the oven for a freshly baked taste!
Closing Thoughts:
I’m sure you’ll love these pumpkin scones for their rich flavor and flaky texture.
Whether you’re a novice or a seasoned baker, this recipe offers something for everyone.
I’d love to hear how they turn out for you! Let me know if you tried any fun variations or tweaks. Don’t forget to share your creations on social media and tag me!

Pumpkin Scones Recipe
Ingredients
- 1 cup 240g all-purpose flour (or gluten-free flour blend)
- 1/4 cup 50g brown sugar (or Stevia)
- 1 tsp baking powder
- 1/2 tsp baking soda
- 1/2 tsp cinnamon
- 1/4 tsp ground ginger
- 1/4 tsp nutmeg
- 1/4 tsp salt
- 1/2 cup 120g pumpkin purée (fresh or canned)
- 1/4 cup 60ml Greek yogurt (or dairy-free yogurt)
- 1/4 cup 60g unsalted butter, chilled and cubed (or plant-based butter)
- 1 large egg or flaxseed egg
- 1 tsp vanilla extract
- 2 tbsp milk or plant-based milk
- 1/2 cup powdered sugar or Stevia-based powdered sweetener
- 2 tbsp milk or plant-based milk
- 1/4 tsp cinnamon
- Cherries
- Choco syrup
- Cream
Instructions
- Preheat the Oven: Set to 400°F (200°C) and line a baking sheet with parchment paper.
- Mix Dry Ingredients: In a bowl, whisk together flour, baking powder, baking soda, spices, and salt.
- Cut in the Butter: Add cubed butter to flour mixture. Use a pastry cutter or your fingers to blend until mixture resembles coarse crumbs.
- Combine Wet Ingredients: In another bowl, mix pumpkin purée, Greek yogurt, egg, and vanilla extract.
- Form the Dough: Gradually mix wet ingredients into dry. Stir until combined. Avoid overmixing.
- Shape the Scones: On a floured surface, pat dough into a 1-inch thick round. Cut into 8 triangles.
- Bake: Place on baking sheet, brush with milk. Bake for 18-20 minutes until golden brown.
- Optional Glaze: Mix powdered sugar, milk, and cinnamon. Drizzle over cooled scones. Add cherries, syrup and cream as per need.
Notes
- Use chilled butter for a flaky texture.
- Handle dough minimally to avoid tough scones.
- If using substitutes, ensure ingredients are well-mixed to prevent separation