How to Make Gorgeous Candy Apples That Will Wow at Any Party
You know those days when you want something sweet and fun, but don’t feel like spending hours in the kitchen?
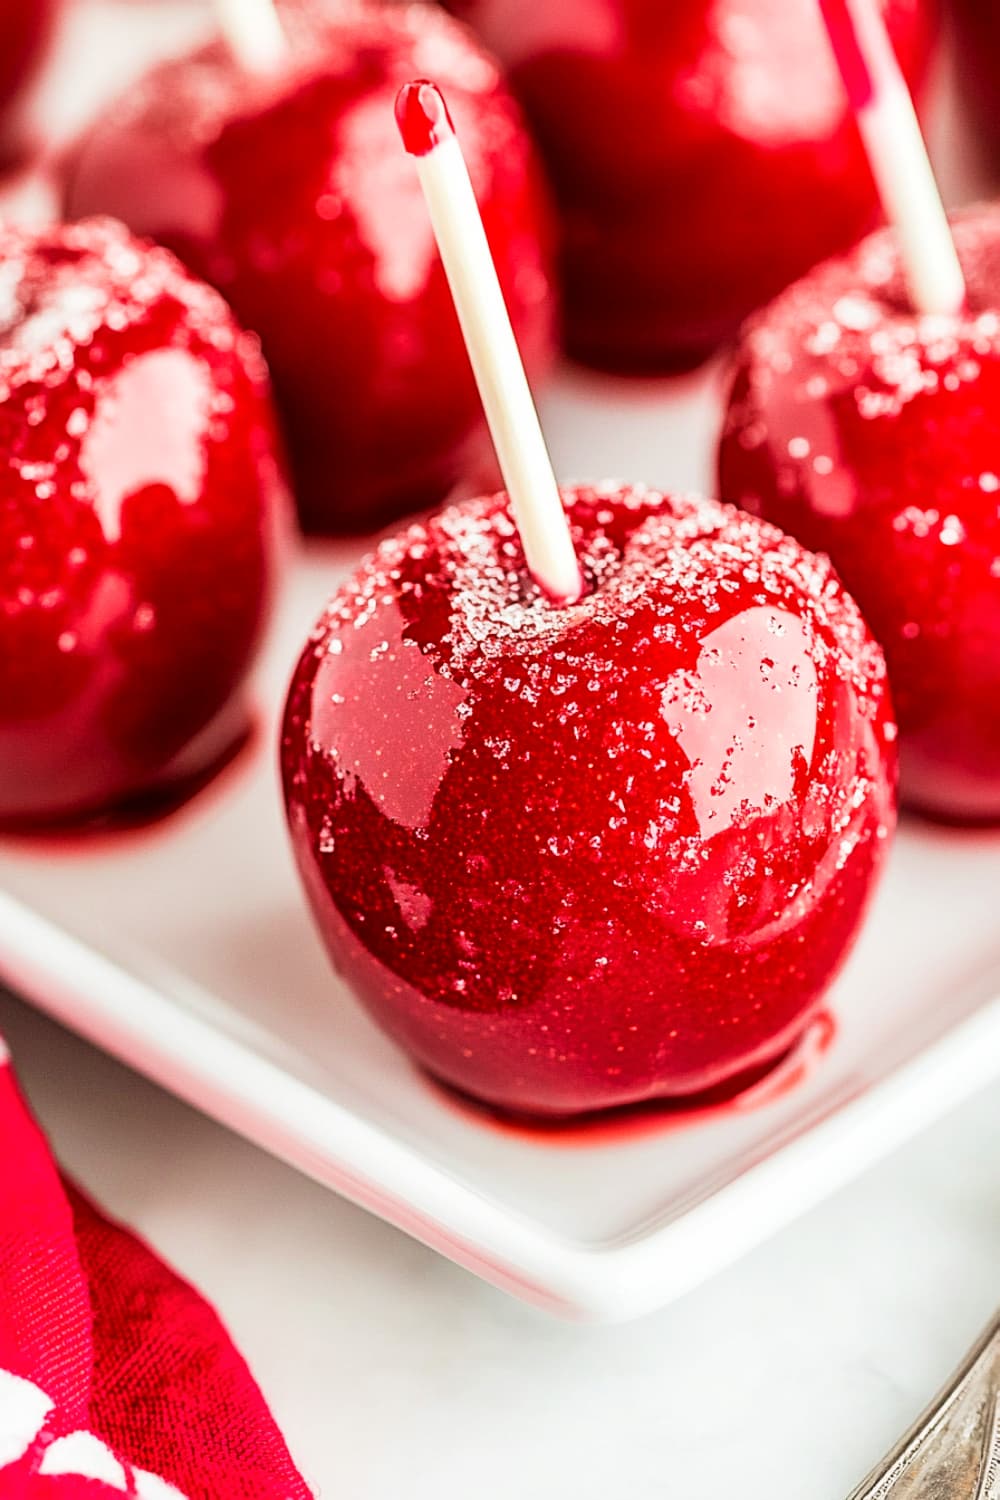
Easy Caramel Apples might be the answer you didn’t know you needed. Whether you’re preparing for a Halloween party or just craving a childhood classic, this Caramel Apple Recipe is bound to be a hit.
Why should you learn this? Because it is a simple recipe and an incredibly easy way to elevate your dessert game without much effort. Plus, this Candy Apple Recipe offers endless decorating possibilities for any occasion!
Why You’ll Love This Recipe:
- Super Simple: This is truly a Caramel Apples Easy recipe, no need for kitchen expertise!
- Versatile & Fun: From Chocolate Covered Apples to Colored Candy Apples, you can customize these beauties for any event.
- Tasty & Satisfying: Crispy apples with a smooth caramel coating—what’s not to love?
- Perfect for Beginners: Learn how to make Pretty Caramel Apples with minimal prep and maximum flavor.
Candy Apples of Any Color Recipe
- Preparation Time: 15 minutes
- Cooking Time: 20 minutes
- Total Time: 35 minutes
Ingredients (for 4 candy apples):
- 4 medium-sized apples (Granny Smith, Honeycrisp, or your favorite variety)
- 2 cups (400g) granulated sugar
- 1/2 cup (120ml) light corn syrup
- 1/2 cup (120ml) water
- 1 tsp vanilla extract (optional, for flavor)
- Food coloring of your choice (liquid or gel)
- Candy thermometer
- Lollipop sticks or wooden skewers
Allergen Substitutes:
- If allergic to corn syrup, you can substitute it with honey or golden syrup in equal amounts, but the color might slightly differ.
Instructions:
Prepare the Apples:
Wash the apples thoroughly to remove any waxy coating (this will help the candy stick better). Dry them completely and insert a lollipop stick or wooden skewer into the stem end of each apple. Set them aside on a baking sheet lined with parchment paper or a silicone mat.
Make the Candy Coating:
In a medium-sized saucepan, combine the sugar, corn syrup, and water. Stir lightly to dissolve the sugar, then place the pan over medium heat. Attach a candy thermometer to the side of the pan to monitor the temperature. Allow the mixture to cook without stirring, bringing it to 300°F (149°C) (hard crack stage). This should take around 10-12 minutes.
Add Flavor (Optional):
Once the mixture reaches 300°F, remove the saucepan from the heat and stir in vanilla extract for added flavor, if desired. Be careful, as the mixture will bubble when the extract is added.
Coloring the Candy Coating:
Immediately stir in your chosen food coloring. Start with a few drops (or a small amount of gel coloring) and stir until the color is evenly distributed. The amount of coloring you add will determine the intensity of the color, so adjust according to how bold or light you want your candy apples to be.
-
- Tip: If you’re making multiple colors, divide the candy mixture into smaller bowls and add different colors to each one. Work quickly as the mixture can harden fast.
Coat the Apples:
Working quickly, hold each apple by the stick and dip it into the candy mixture. Tilt the pan slightly to help fully coat the apple. Once fully coated, allow any excess candy to drip off before placing the apple on the prepared parchment or silicone mat.
Set the Candy Apples:
Allow the candy apples to cool and harden for about 15-20 minutes at room temperature. They should have a glossy, hard finish once set. Garnish with chocolate syrup or sprinkles.
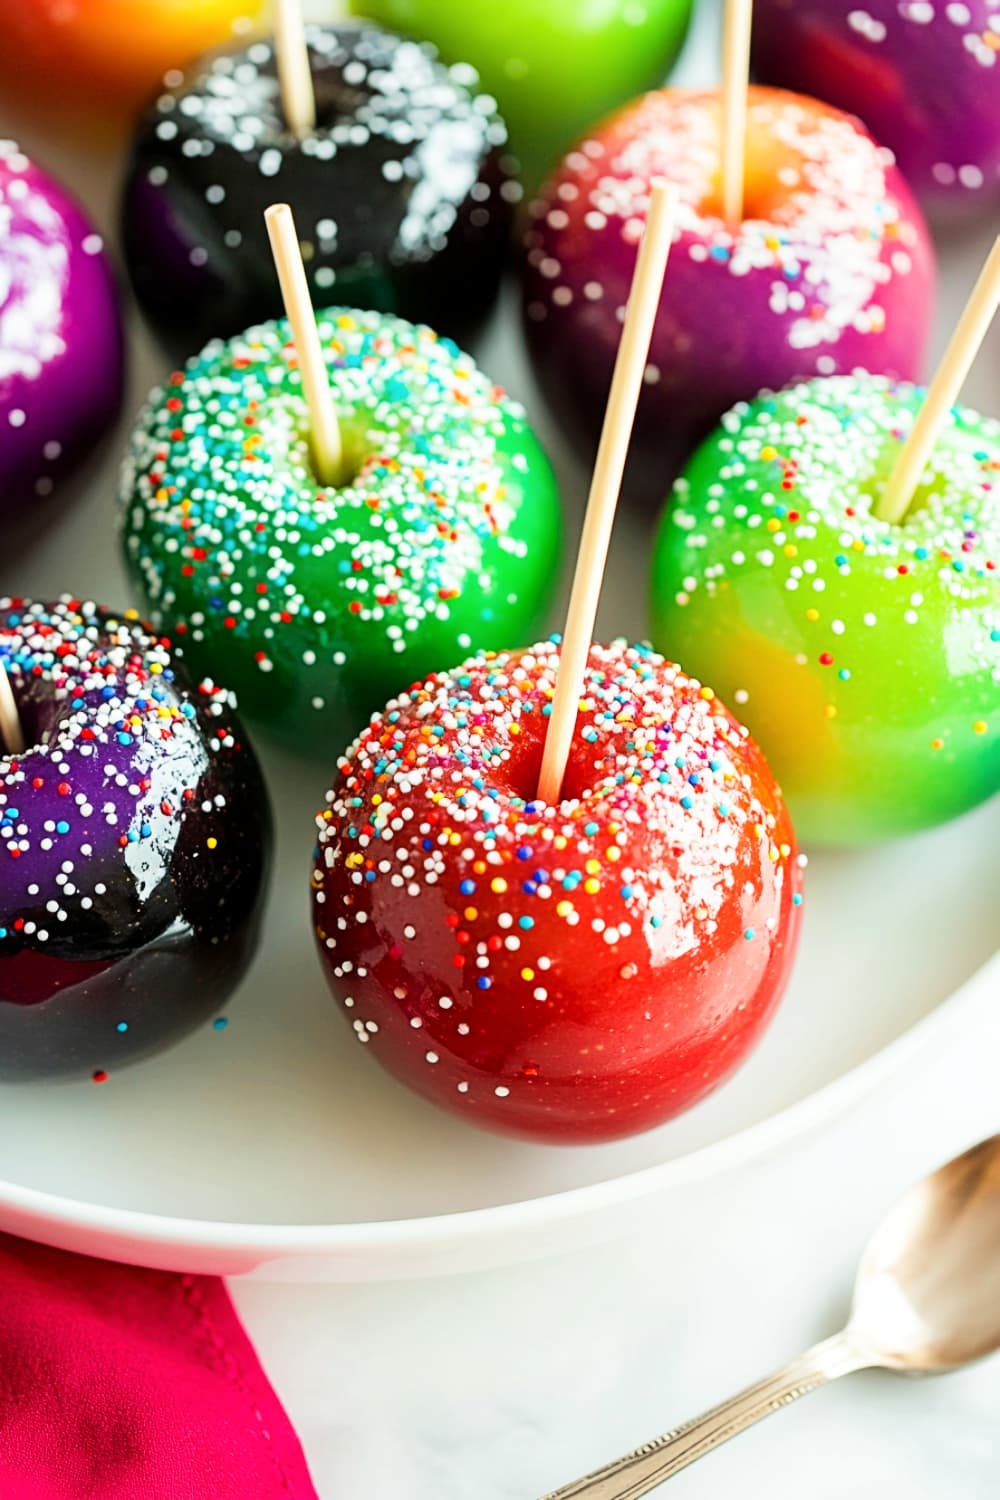
How to Make Them Any Color:
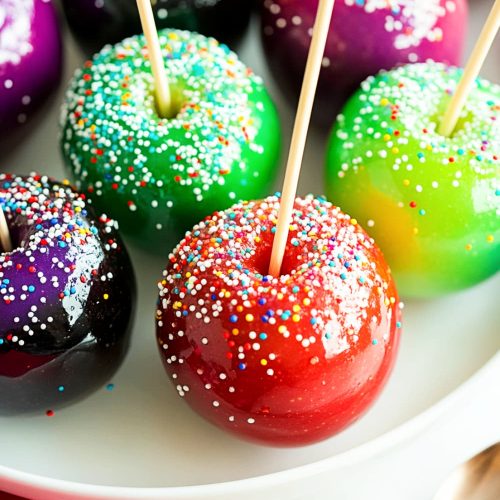
- For Red Candy Apples: Use red food coloring to achieve the classic carnival look. Just a few drops of liquid red or a small amount of gel food coloring will do.
- For Green Candy Apples: Add green food coloring to create a fresh, unique look, perfect for festive occasions like St. Patrick’s Day or Halloween.
- For Blue Candy Apples: Blue food coloring can be used for a fun and bold twist, great for summer parties or a gender reveal.
- For Pink Candy Apples: A light amount of pink food coloring makes for a lovely pastel treat, perfect for baby showers or Valentine’s Day.
- For Black Candy Apples: Add black food coloring for a striking and mysterious effect, great for Halloween or themed events.
Notes to Remember:
- Work Quickly: Candy hardens fast, so it’s essential to dip the apples immediately after adding the color.
- Temperature Control: Make sure your candy reaches 300°F for the perfect hard candy shell. If you dip before it hits that temperature, the coating may be sticky or too soft.
- Preventing Bubbles: For a smooth finish, gently swirl the apples in the mixture and let the excess candy drip off before setting it down.
Ways to color the apples naturally without artificial colors.
- Red Candy Apples (Beet Juice or Pomegranate Juice)
- Beet Juice: Beets provide a rich, natural red color that’s perfect for candy apples. Simply use a small amount of beet juice in place of food coloring. You can buy beet juice or make your own by blending cooked or raw beets and straining the juice. The taste of beet juice is subtle enough that it won’t overpower the sweetness of the candy coating.
- Tip: Add the beet juice after the candy has reached the hard crack stage (300°F), as the juice can evaporate if added too early.
- Pomegranate Juice: Another option for a red hue is pomegranate juice. While it will give a lighter red than beets, pomegranate juice can add a fruity note to the candy coating. Reduce the juice slightly before adding to the candy mixture to concentrate the color and flavor.
- Green Candy Apples (Spinach or Matcha)
- Spinach Juice: Spinach may seem like an unusual ingredient, but when juiced, it can provide a beautiful natural green tint without affecting the taste of the candy. Blend fresh spinach leaves with a small amount of water and strain the juice. Like with beet juice, add this after the candy reaches the hard crack stage.
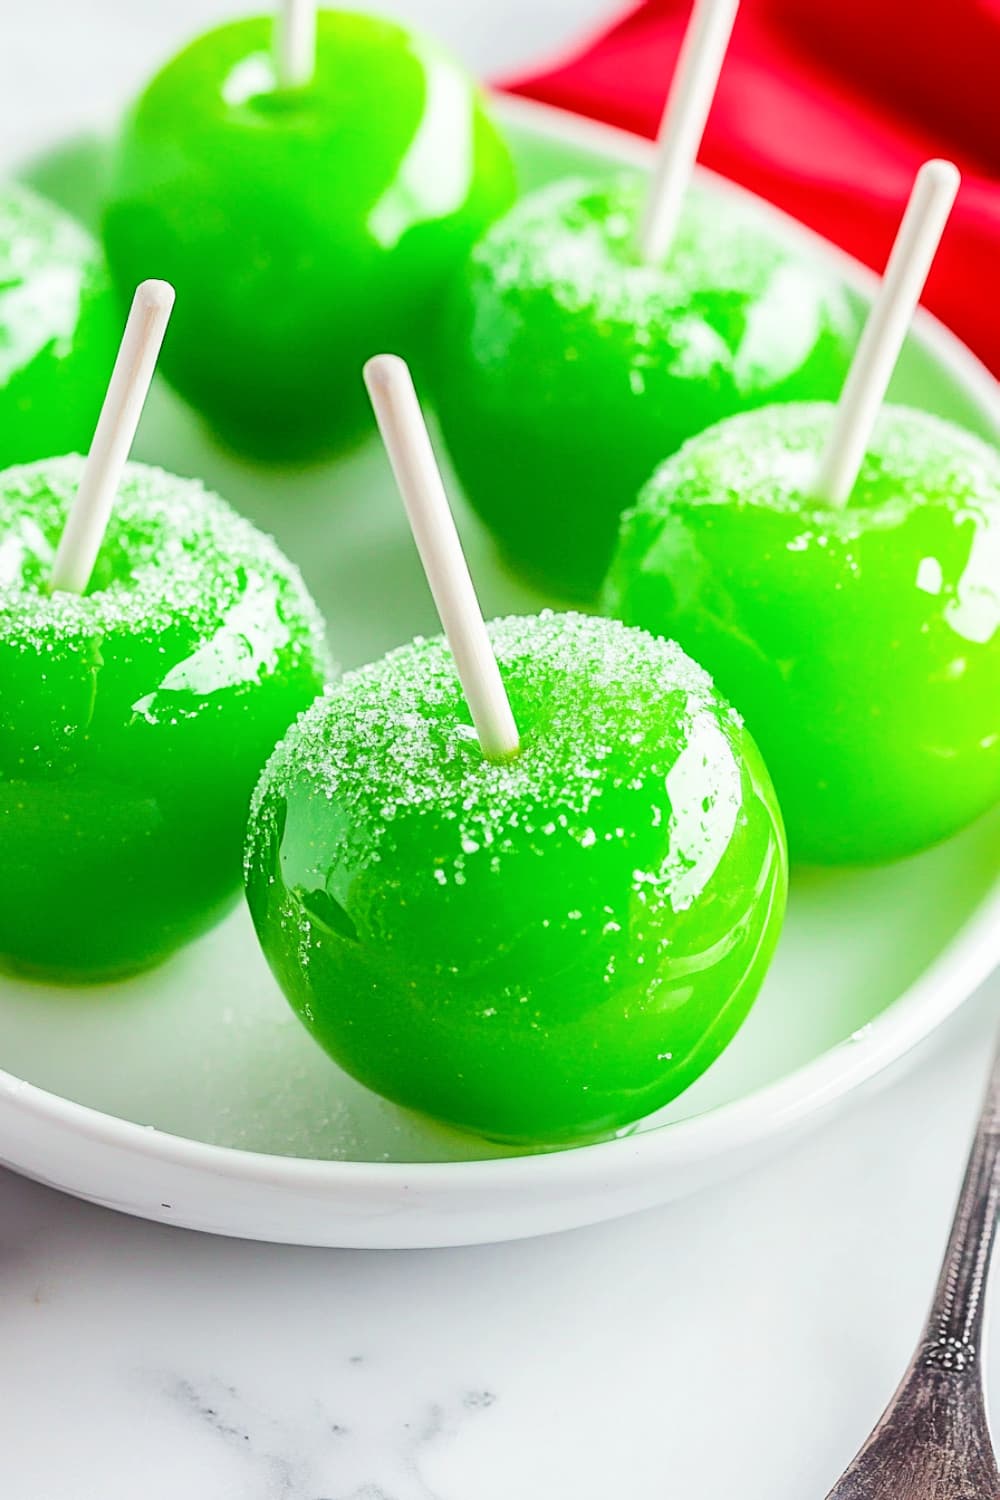
- Matcha (Green Tea Powder): Matcha is a powdered green tea that gives a vibrant green color. You can mix a small amount of matcha powder directly into the candy coating. The slight earthy flavor of matcha adds a unique touch without being overpowering.
- Blue Candy Apples (Blueberries)
- Blueberry Juice: Blueberries can give your candy apples a lovely natural blue-purple hue. Simmer a handful of blueberries in a small amount of water until they burst and release their juice, then strain the liquid.
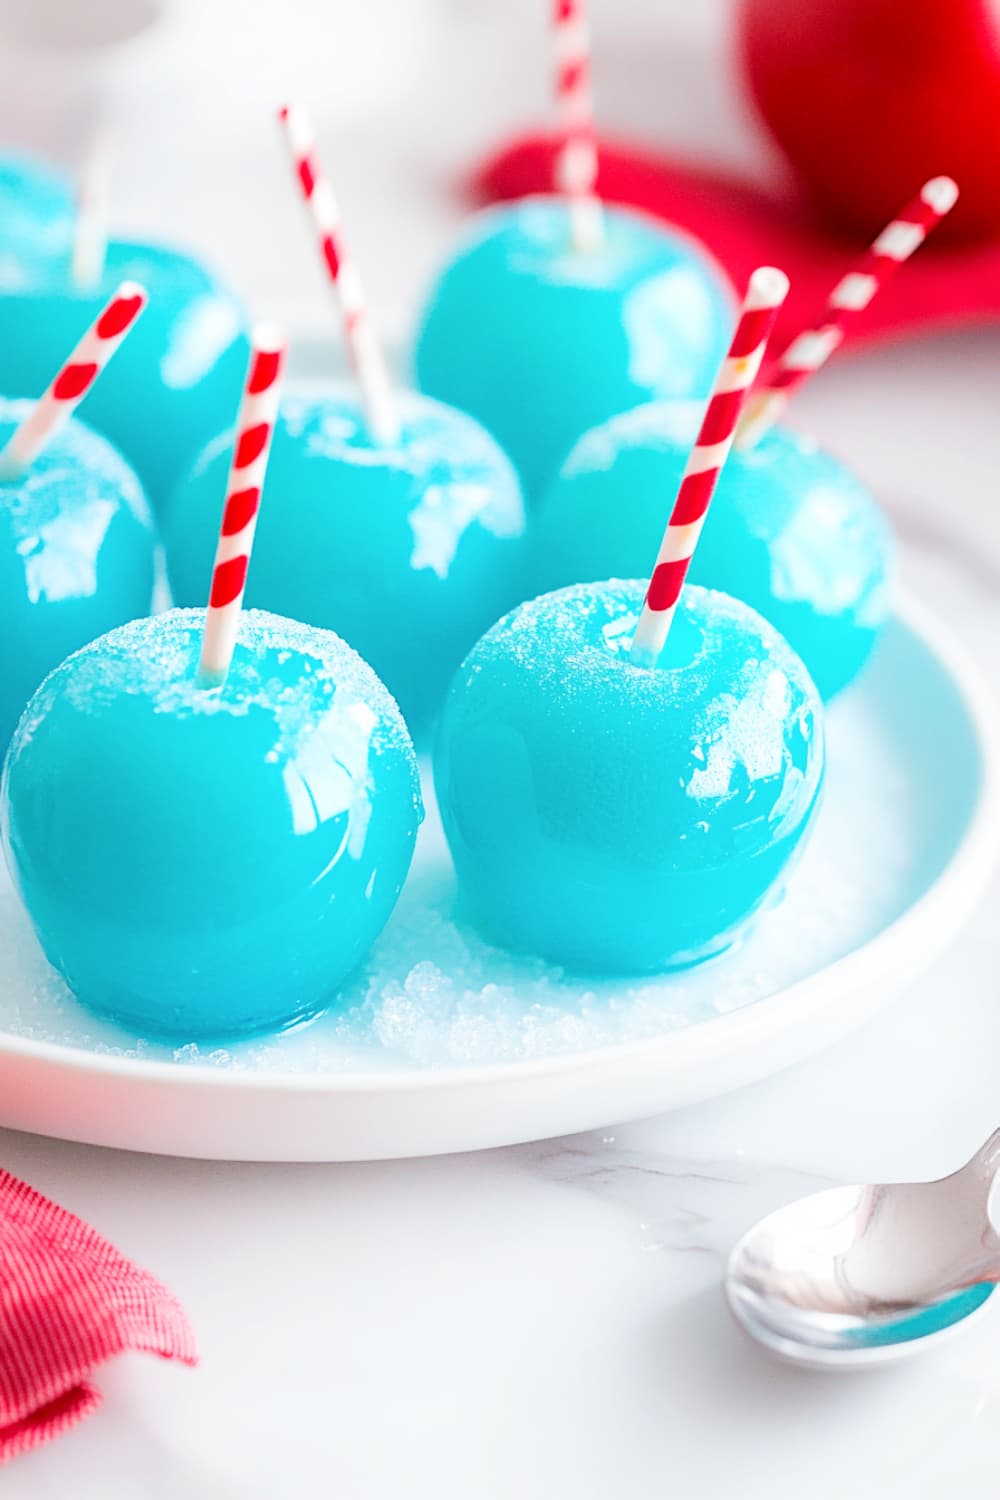
- Like with the other juices, add it after the candy reaches the hard crack stage to prevent burning. The result will be a deep, rich blue-purple.
- Tip: Blueberries may give more of a purplish tint, but you can reduce the juice to intensify the blue color.
- Pink Candy Apples (Raspberries or Strawberries)
- Raspberry Juice: For a light pink hue, use raspberry juice. Simmer fresh or frozen raspberries in water until they break down, then strain the juice. The color will be a soft pink and the subtle raspberry flavor adds an extra fruity touch.
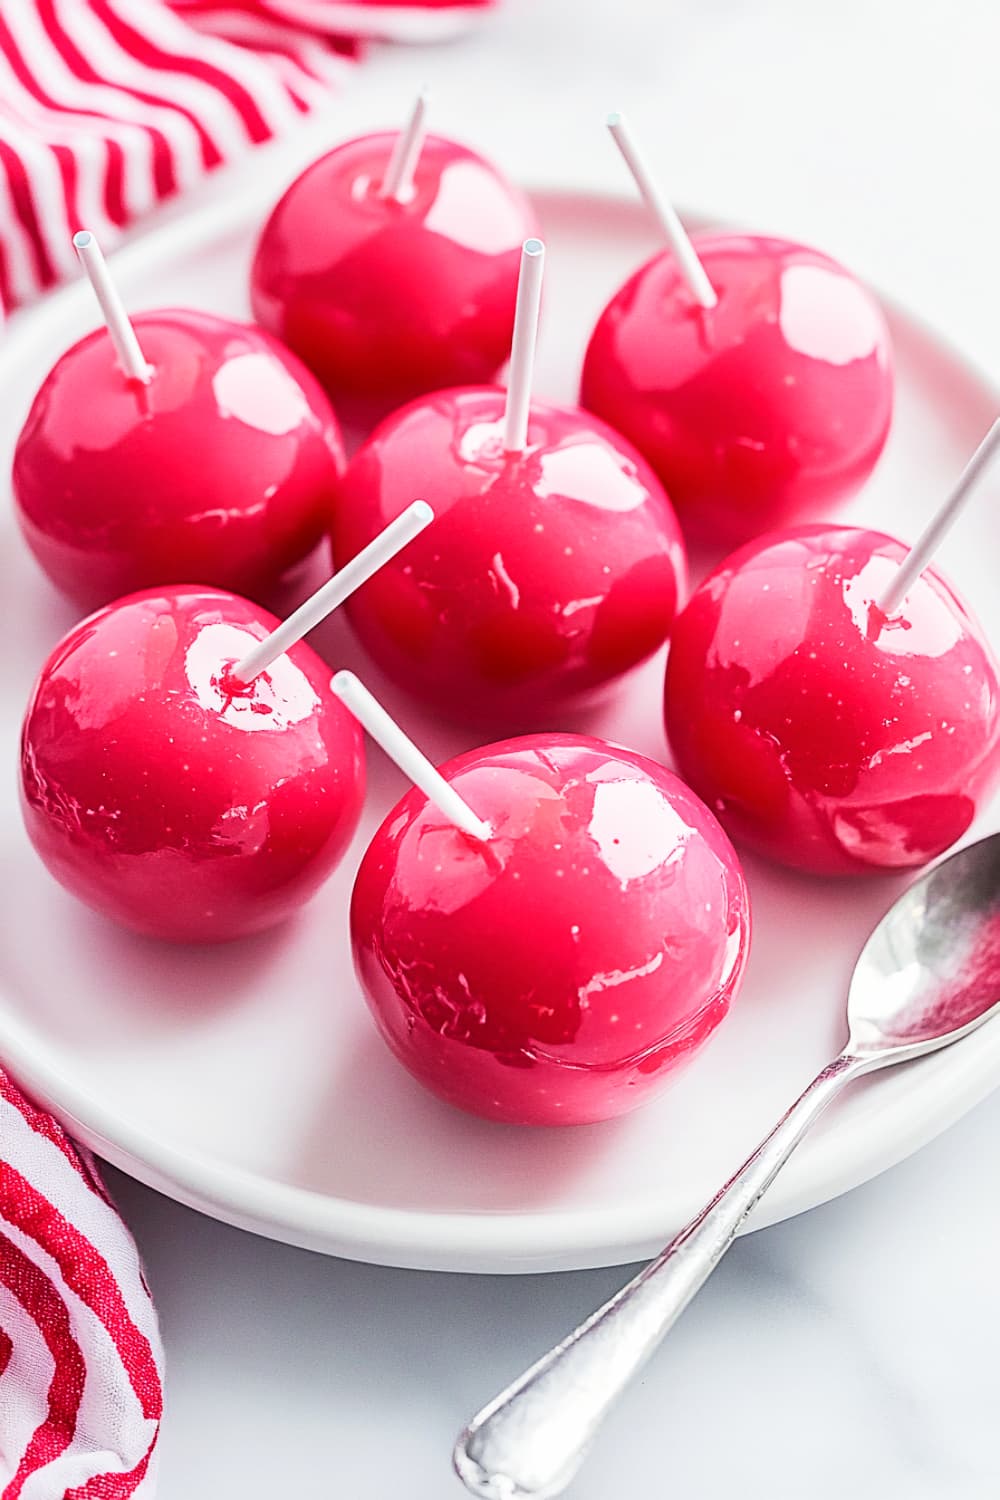
- Strawberry Juice: Similar to raspberries, you can also use strawberries for a pink tint. The juice from strawberries will provide a more delicate, pastel-like pink, perfect for softer, elegant candy apples.
- Black Candy Apples (Black Sesame)
- Black Sesame Paste: You can also use black sesame paste to create a dark, rich color. The paste adds a nutty flavor, which pairs beautifully with the sweetness of the candy coating.
It won’t be as pure black, but it will give a dark, moody finish.
But proceed with caution with this as the taste can be on the bitter side.
- Blackberries or Black grapes.
- Yellow Candy Apples (Turmeric)
- Turmeric: Known for its vibrant yellow color, turmeric can be used to give your candy apples a golden-yellow hue. Be sure to use just a small pinch, as turmeric has a strong flavor. This natural colorant works well for themed parties like tropical or summer events.
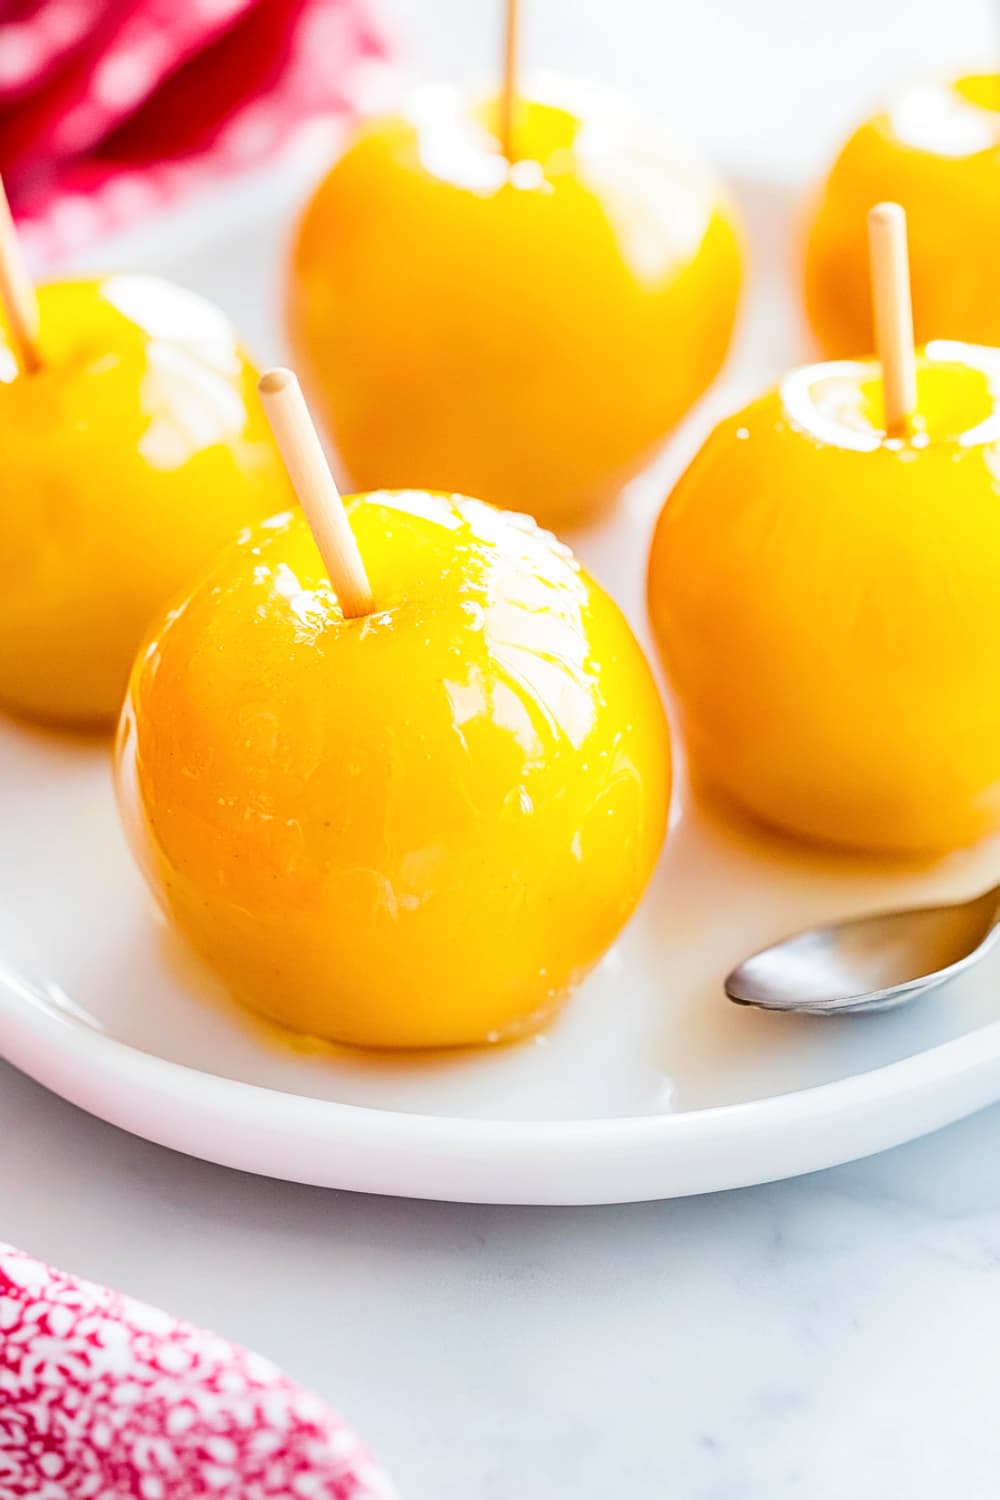
- Tip: Ensure you have a nice candy coating on the apples to prevent the turmeric from altering the flavor too much.
- You will never get proper yellow color naturally, you will have to use colors.
- Orange Candy Apples (Carrot Juice or Paprika)
- Carrot Juice: For a bright orange hue, carrot juice is a fantastic option. It adds a vibrant color with a mild, sweet flavor that complements the candy coating. You can buy carrot juice or juice fresh carrots at home.
- Paprika: For a deep orange color, you can mix in a small amount of paprika powder. It has a mild, slightly sweet flavor, but be sure to use just a pinch to avoid an overly strong taste.
8. Making Shiny Purple Candy Apples
- Purple Grape Juice:
- Ingredients: 100% pure grape juice.
- Instructions:
- Heat the grape juice in a saucepan until it reduces and thickens slightly.
- Dip the apples in the warm grape juice before coating them with candy.
- Tip: This method adds a nice flavor along with color.
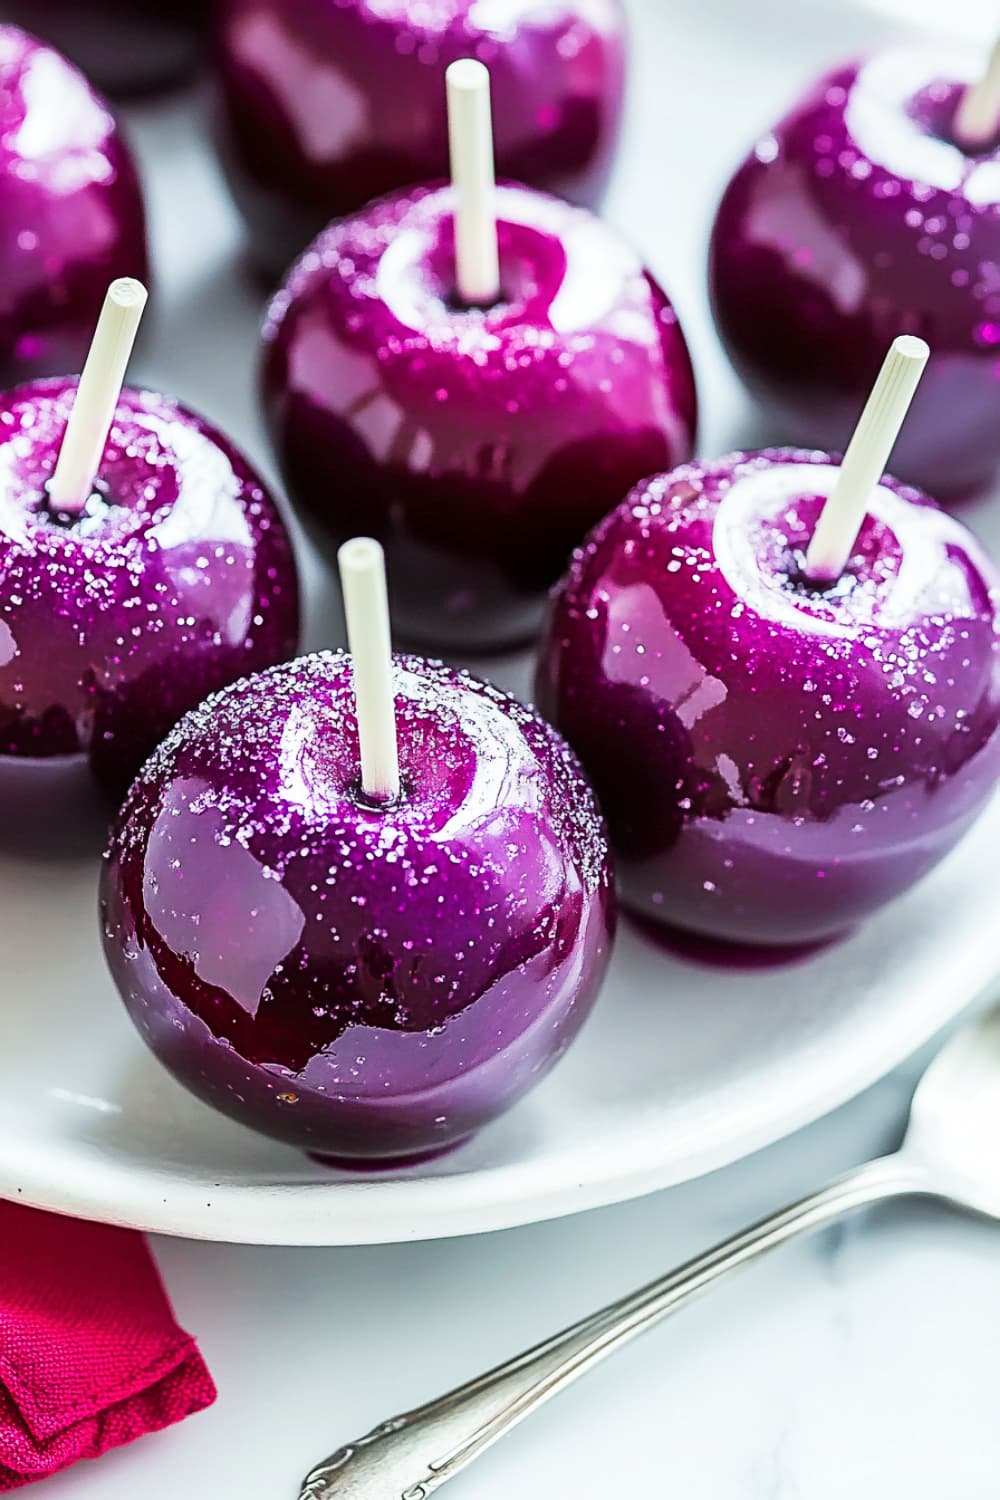
- Beet Juice:
- Ingredients: Fresh beet juice.
- Instructions:
- Extract juice from beets using a juicer or blender and strain it.
- Dip or brush the apples with beet juice for a deep purple color.
- Tip: This method also adds a nutritional boost and a sweet earthiness.
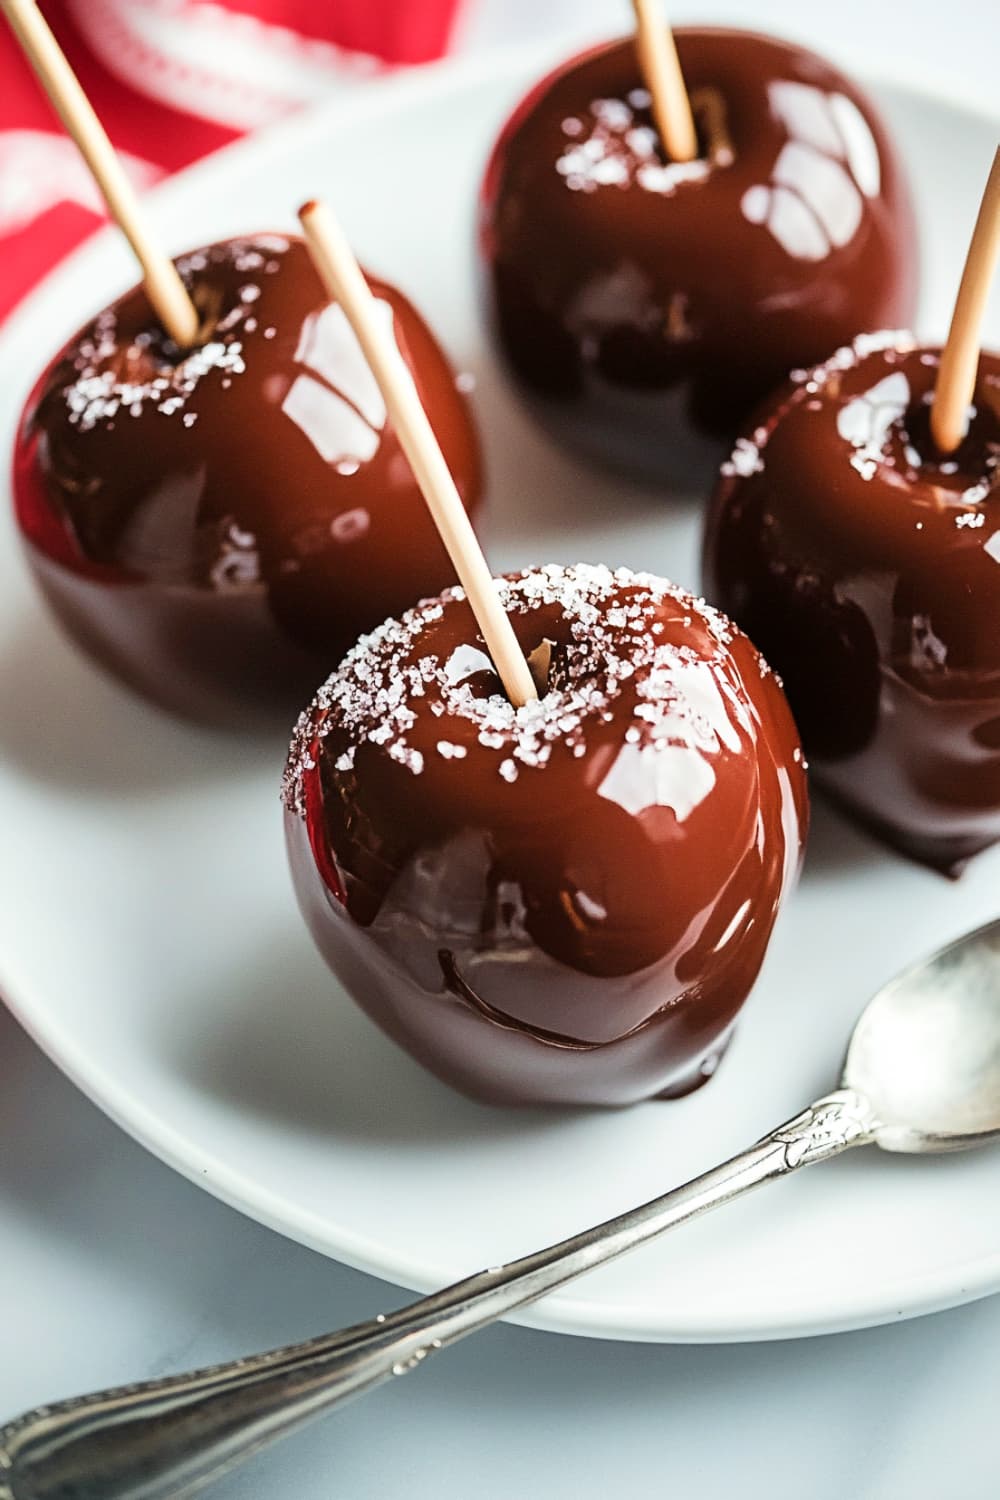
9. Chocolate Candy Apples:
Using dark chocolate is an easy way to achieve this.
Extra Notes
- Cook the candy mixture as usual: Sugar, water, and corn syrup (or alternatives like honey) until it reaches the hard crack stage (300°F/149°C).
- Add the natural colorant: Once the candy reaches 300°F, remove it from heat and quickly stir in the natural juice or powder. Be careful not to add too much liquid as it can affect the consistency. If using powders like matcha or turmeric, start with small amounts to control the color intensity.
- Coat the apples: Dip the apples into the colored candy mixture, let the excess drip off, and set them on parchment paper to cool.
Tips for Achieving a Shiny Finish
- Candy Coating: Ensure your candy coating is smooth and glossy. You can achieve this by cooking the candy to the right temperature (around 300°F or 150°C).
- Shine Enhancement: After coating, you can lightly brush the apples with a small amount of vegetable oil or edible glaze for added shine.
- Cooling: Let the apples cool completely on a non-stick surface or parchment paper to maintain the shiny finish.
How to get rid of waxy apple outer skin?
Dealing with the waxy coating on apples is crucial for ensuring that the candy sticks properly. Here are some effective methods to remove the wax before preparing your Candy Apples:
- Hot Water Soak:
- Method: Fill a bowl with hot (not boiling) water and soak the apples for about 30 seconds to 1 minute.
- Why It Works: The heat helps to loosen the wax, making it easier to remove when you scrub the surface.
- Tip: Use a soft cloth or sponge to gently scrub the surface after soaking.
- Vinegar Solution:
- Method: Mix equal parts of water and white vinegar (or apple cider vinegar) in a bowl. Soak the apples for about 5 minutes and then scrub with a cloth or sponge.
- Why It Works: Vinegar is a natural degreaser and can help dissolve the wax effectively.
- Baking Soda Scrub:
- Method: Create a paste using baking soda and a little water. Apply the paste to the apples and scrub with a soft brush or cloth.
- Why It Works: Baking soda acts as a mild abrasive and helps to lift the wax off the surface.
- Rinse Thoroughly:
- After using any of these methods, make sure to rinse the apples thoroughly under cold running water to remove any remaining wax or cleaning solution.
- Dry the Apples:
- Once cleaned, dry the apples completely with a clean towel. This step is essential because any moisture can prevent the candy coating from adhering properly.
Clarifications to ensure the best results when making Candy Apples with natural colors:
- Timing the Color Addition
- Critical Step: When using natural liquid-based colorants (like beet juice or blueberry juice), it’s crucial to add the juice after the candy reaches the hard crack stage (300°F/149°C). This ensures that the sugar mixture remains stable. If you add the juice too early, the water content can interfere with the sugar crystallization, causing a grainy texture.
- Powder Colorants: If using powder-based colorants (like matcha, turmeric, or activated charcoal), you can stir them in earlier, once the sugar mixture is dissolved but before it reaches the hard crack stage. Powders don’t affect the water content as much as juices do, so they’re more forgiving when added earlier.
- Controlling the Color Intensity
- Start with Small Amounts: Whether you’re using juice or powder, always start with a small amount and gradually add more if needed. For example, beet juice and turmeric can provide intense color, and using too much might overwhelm the taste or cause the sugar to become too thin.
- Balancing Flavor: Some natural colorants, like turmeric, beet juice, or matcha, have distinct flavors. Adding too much can affect the taste. For example, if you’re using beet juice, a small amount won’t change the taste of your candy apples, but too much might leave an earthy aftertaste.
- Avoiding Sticky Apples
- Cooling the Apples: Ensure your candy apples cool completely before serving or packaging. If you move them too soon, they may become sticky as the coating is still setting. Leaving them on a silicone mat or parchment paper helps avoid sticking.
- Room Temperature: Keep the apples in a cool room with low humidity. Excess moisture can cause the candy coating to soften, making them sticky over time.
- Preparation of the Apples
- Clean and Dry Apples Thoroughly: Washing and drying the apples properly before dipping is essential. If there’s any wax or moisture on the skin, the candy coating won’t adhere properly. You can wash them in warm water with a bit of baking soda to remove wax and dry them thoroughly with a towel.
- Chill the Apples Before Dipping: For best results, refrigerate the apples for about 30 minutes before dipping. This helps the hot candy coating to set quickly and creates a smoother, even coating.
- Candy Coating Texture and Consistency
- Hard Crack Stage: Always use a candy thermometer to make sure the sugar reaches the hard crack stage (300°F/149°C). If you don’t get to this temperature, the coating will be too soft and sticky, rather than hard and crunchy. If you overshoot the temperature, the sugar can burn, leaving a bitter taste.
- Stirring Technique
- Gentle Stirring: Once the candy reaches the hard crack stage and you’ve added your natural color, stir gently to avoid creating bubbles in the candy mixture. Bubbles can make the coating look rough and uneven.
- Reheating the Candy Mixture
- Reheating for Multiple Apples: The candy mixture will start to harden as it cools, especially if you’re making a larger batch.
- If it becomes too thick while you’re dipping the apples, reheat the mixture over low heat for a few minutes until it becomes liquid again. Be careful not to overheat or burn the sugar during reheating.
- Handling the Candy-Coated Apples
- Rotate for Even Coating: After dipping the apple in the candy mixture, rotate it slowly over the pot to let any excess drip off, then set it down on parchment paper. This ensures a smooth and even coating.
- Decorating Immediately: If you’re adding any garnishes (like chopped nuts, coconut, or seeds), be sure to sprinkle them on immediately after dipping the apple, while the candy is still hot and sticky.
- Storing the Apples
- Proper Storage: Once the apples are completely cool, store them at room temperature in a dry place. If stored in the fridge, condensation can form, which may cause the candy coating to become sticky.
- Wrapping each apple in wax paper can also help keep them fresh and prevent sticking if you plan to store them for more than a day.
- Serving and Presentation
- Adding a Final Shine: For extra visual appeal, after the candy apples have set, you can lightly brush them with a tiny bit of edible oil to give them a glossy finish. This makes the colors pop even more and gives them a professional look.
- Color Matching for Themes
- These natural dyes offer a range of possibilities for holiday, party, or themed candy apples:
- Red Apples for Valentine’s Day (beet juice or pomegranate juice).
- Green Apples for St. Patrick’s Day (spinach juice or matcha).
- Orange Apples for Halloween (carrot juice or paprika).
- Yellow Apples for summer events (turmeric).
Common Mistakes to Avoid When Making Candy Apples
1. Ingredient Selection
- Using Low-Quality Apples: Avoid using apples that are mealy or bruised. Opt for fresh, crisp apples like Granny Smith or Honeycrisp for the best flavor and texture.
- Choosing the Wrong Sugar: Stick with granulated sugar for the candy coating. Avoid brown sugar, which can change the texture and flavor of your caramel.
- Ignoring Natural Colorants: When using natural colorants for the candy, be cautious with quantities. Start with a small amount, as some (like turmeric) can have a strong flavor.
2. Preparation Pitfalls
- Not Drying the Apples: Ensure apples are completely dry before dipping them into the candy coating. Moisture can cause the candy to slide off.
- Skipping the Stick Refrigeration: If you refrigerate the apples with the sticks inserted for about 30 minutes, it helps the candy adhere better.
- Cutting Apples Improperly: If you decide to slice the apples instead of keeping them whole, make sure to cut evenly for consistent coating and easier eating.
3. Cooking Techniques
- Incorrect Candy Temperature: Use a candy thermometer to ensure the mixture reaches 300°F (149°C) (hard crack stage). Cooking it too long can result in burnt candy, while undercooking can lead to a sticky mess.
- Not Stirring Properly: While cooking the sugar mixture, avoid stirring once it starts boiling. This prevents crystallization, which can ruin the candy’s smooth texture.
- Improper Dipping Technique: When dipping, swirl the apple and lift it straight up to let excess candy drip off. Don’t let it sit in the pot, as that can cause pooling at the bottom.
4. Seasoning and Flavoring
- Overdoing Natural Colorants: Adding too much natural colorant can alter the flavor. Start with small amounts and adjust according to taste.
- Missing Flavor Boosts: Enhance the flavor with a pinch of salt or a splash of vanilla extract in the candy mixture. It elevates the overall taste without overpowering the sweetness.
5. Presentation Tips
- Neglecting Cooling Space: Allow ample space between dipped apples on the parchment paper. This prevents them from sticking together and ruining the presentation.
- Forgetting Garnishes: Consider adding toppings like chopped nuts or sprinkles while the candy is still warm for added texture and visual appeal.
- Ignoring Display: Serve the apples on a colorful platter or stick them into a foam block to create an appealing display. The presentation can enhance the overall experience.
Pairing Suggestions and Seasonal Variations
1. Pairing Suggestions
- Beverages: Candy apples pair well with sweet beverages like apple cider or sparkling grape juice, which enhance their fruity flavor.
- Side Dishes: Serve alongside a light salad or cheese platter for a balanced treat that combines sweet and savory.
- Other Desserts: Consider offering mini pumpkin pies or chocolate-covered strawberries as complementary sweets.
2. Seasonal Variation
- Autumn: Use spices like cinnamon or nutmeg in the candy mixture for a cozy fall flavor.
- Summer: Try incorporating fresh berries into the candy mixture for a fruity twist.
- Holidays: Decorate candy apples with holiday-themed sprinkles or edible glitter for festive celebrations.
Pro Tips for Making Candy Apples
- Choose the Right Apples: Opt for firm, tart apples like Granny Smith or Honeycrisp. Their crispness complements the sweetness of the candy coating and helps the apples maintain their shape.
- Prepare the Apples Properly: Wash and thoroughly dry the apples before dipping. Any moisture can prevent the candy coating from adhering well. In addition, you can remove the wax on store-bought apples by briefly soaking them in hot water.
- Temperature Control: Use a candy thermometer to ensure your caramel reaches the hard crack stage (around 300°F / 149°C). This is crucial for achieving the right texture. Cooking too long can lead to burnt candy, while undercooking will yield a sticky mess.
- Enhance the Flavor: Consider adding a pinch of salt or a splash of vanilla extract to the candy mixture. These subtle additions can elevate the overall flavor profile and balance the sweetness.
- Experiment with Natural Colorants: To achieve vibrant colors without artificial dyes, use natural colorants like beet juice for red, turmeric for yellow, or spirulina for green. Start with small amounts and adjust based on desired intensity.
- Creative Presentation: After dipping the apples, allow them to cool on parchment paper. For a decorative touch, sprinkle chopped nuts, coconut, or edible glitter while the candy is still warm. This not only enhances visual appeal but also adds texture.
FAQs About Candy Apples
- Can I use different types of apples for this recipe?
- Yes! While tart apples like Granny Smith are preferred, you can experiment with sweeter varieties like Fuji or Gala. Just ensure they are firm to hold up under the candy coating.
- How can I make the candy apples gluten-free?
- The ingredients in the candy coating are naturally gluten-free. Just ensure any added toppings, like sprinkles or nuts, are labeled gluten-free as well.
- How do I store leftover candy apples?
- Store them in an airtight container at room temperature for up to three days. Avoid refrigeration, as it can cause the candy coating to become sticky.
- Can I use store-bought caramel instead of making my own?
- Absolutely! Store-bought caramel can save time and is great for a quick treat. Just melt it down and dip the apples as you would with homemade caramel.
- What can I do if my candy coating is too thick?
- If the candy mixture is too thick to dip, try adding a tablespoon of water or corn syrup to thin it out slightly. Reheat gently to incorporate.
- How can I make candy apples in different colors?
- You can create vibrant colors using natural colorants like beet juice for red, turmeric for yellow, or spirulina for green. Mix these in small amounts into the candy mixture for the desired hue.
Closing Thoughts
I hope you find this Candy Apple Recipe as delightful to make as it is to eat! These Easy Caramel Apples are perfect for any occasion, and I can’t wait to hear how yours turn out.
Don’t hesitate to try your own variations, whether it’s experimenting with colors or toppings.
Share your experiences, questions, or ideas in the comments below, or tag me on social media. Happy cooking, and enjoy making your Gourmet Candy Apples!
Candy Apples Recipe
Ingredients
- 4 apples washed and dried (Granny Smith or Honeycrisp work best)
- 2 cups 400g granulated sugar
- 1/2 cup 120ml water
- 1/2 cup 120ml light corn syrup
- 1/2 tsp cream of tartar
Natural colorants:
- o Red: 1-2 tbsp beet juice or pomegranate juice
- o Green: 1-2 tsp matcha powder or spinach juice
- o Yellow: 1-2 tsp turmeric powder
- o Purple: 1-2 tbsp blueberry or purple carrot juice
- 1/2 tsp vanilla extract optional
- Wooden sticks for apples
- If not using natural colors then food colors
Instructions
- Prep the Apples: Wash and thoroughly dry the apples. Insert wooden sticks into the stem end and set them aside. For best results, refrigerate for 30 minutes before dipping.
- Make the Candy Coating: In a saucepan, combine sugar, water, corn syrup, and cream of tartar. Cook over medium heat, stirring until the sugar dissolves. Bring the mixture to a boil without stirring, and cook until it reaches 300°F (149°C) (hard crack stage) on a candy thermometer.
- Add Natural Color: Once the candy reaches the hard crack stage, remove from heat and stir in your chosen natural colorant (beet juice for red, turmeric for yellow, etc.) and vanilla extract if using. Mix gently to avoid air bubbles.
- Dip the Apples: Quickly dip each apple into the hot candy mixture, rotating it to ensure an even coating. Allow excess candy to drip off, then place the apples on parchment paper to set.
- Set and Serve: Let the apples cool completely at room temperature until the candy hardens. Store in a cool, dry place.
- Serve with sprinkles or crushed nuts and chocolate syrup.
Notes
How to Achieve Natural Colors:
- Red: Beet juice or pomegranate juice.
- Green: Matcha powder or spinach juice.
- Yellow: Turmeric powder.
- Purple: Blueberry juice.
Tips:
- Make sure to dry the apples thoroughly before dipping.
- Reheat the candy mixture on low heat if it starts hardening during the dipping process.
- Add natural colorants after reaching the hard crack stage to avoid affecting the candy's texture.

