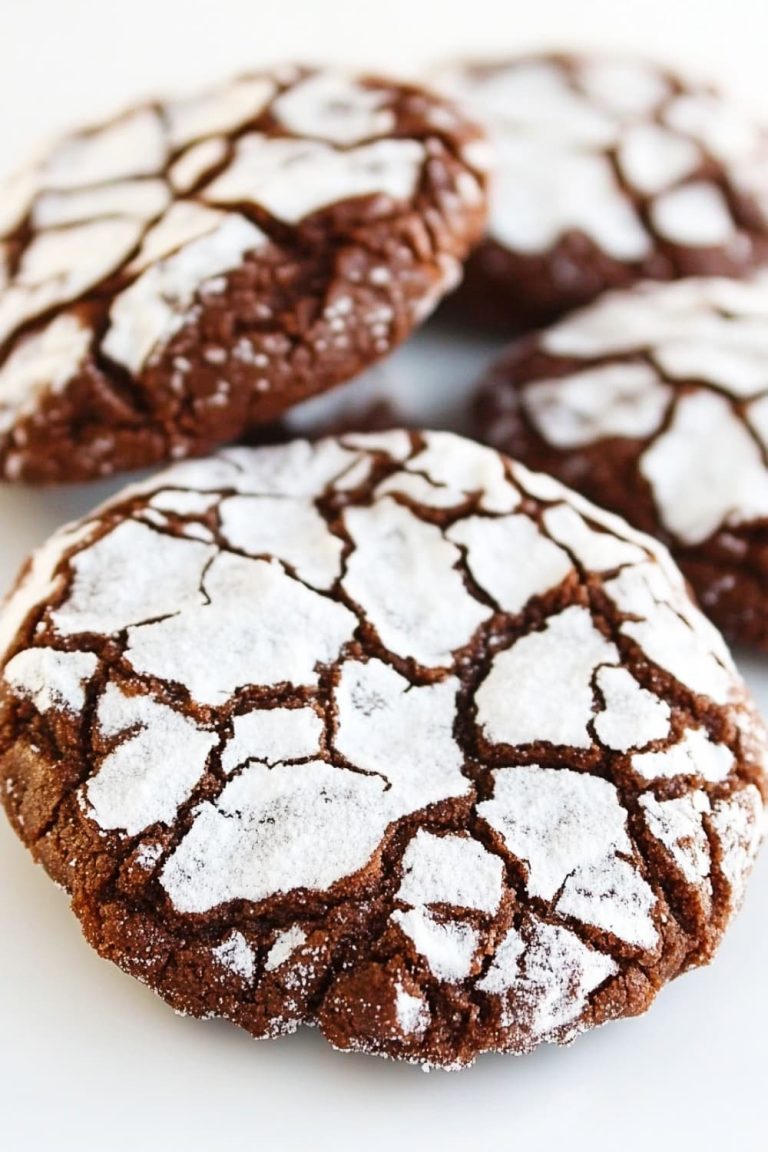
You Won’t Believe How Easy These Red Velvet Cookies Are to Make!

Is it just me, or does the sight of Red Velvet Cookies instantly make everything feel more festive?
Whether you’re baking for coworkers or whipping up desserts for game night, there’s something magical about the soft, chewy texture of these crimson treats.
And guess what? In just 25 minutes, using simple pantry staples, you can create velvety red cookies that look like they came from an Instagram-worthy bakery!
You’ll learn all the tips and tricks to get that perfect, irresistible cookie crumble, and why this is the go-to treat for any occasion.
Why You’ll Love This Recipe:
- Super easy to make with ingredients you probably already have in your kitchen.
- Perfect for satisfying those midnight munchies snacks with a soft, chewy bite.
- A hit at any gathering—ideal for party appetizer recipes or sweet baked gifts.
- Customizable with your favorite mix-ins like white chocolate chips or cream cheese frosting.
Red Velvet Cookie Recipe
Preparation Time: 15 minutes
Cooking Time: 10-12 minutes
Total Time: 25-27 minutes
Ingredients (for 4 people):
- 1 ½ cups (190g) all-purpose flour (for gluten-free, use a gluten-free all-purpose blend)
- 2 tbsp (15g) cocoa powder, unsweetened
- 1 tsp (5g) baking soda
- ¼ tsp (2g) salt
- ½ cup (115g) unsalted butter, softened (or use dairy-free margarine)
- ½ cup (100g) granulated sugar
- ½ cup (100g) brown sugar, packed
- 1 large egg (or egg substitute for vegan option)
- 1 tbsp (15ml) milk (or almond milk, coconut milk, or oat milk for dairy-free)
- 1 tsp (5ml) vanilla extract
- 1 tbsp (15ml) red food coloring (gel-based works best for vibrant color)
- ½ cup (90g) white chocolate chips (use dairy-free white chocolate if needed)
Instructions:
1. Prepare Dry Ingredients:
In a medium-sized bowl, sift together the flour, cocoa powder, baking soda, and salt. This step ensures that all dry ingredients are evenly combined and there are no lumps in your cookie dough.
Tip: Sifting adds air to the dry ingredients, making the cookies lighter.
2. Cream the Butter and Sugars:
In a separate large bowl, use a hand mixer or stand mixer to cream together the butter, granulated sugar, and brown sugar. Beat until the mixture becomes light and fluffy, which will take about 2-3 minutes.
Tip: Creaming the butter and sugars thoroughly helps create the chewy texture that is essential for these chewy red velvet cookies.
3. Add Wet Ingredients:
Beat in the egg, followed by the vanilla extract and red food coloring. Add the milk last. Mix until everything is well-combined and the dough takes on that iconic velvety red hue.
Tip: If you’re using a gel-based food coloring, you may need less than 1 tablespoon for a bright red color.
4. Combine Dry and Wet Ingredients:
Gradually mix the dry ingredients into the wet mixture, being careful not to overmix. Once the dough comes together, gently fold in the white chocolate chips.
Tip: Overmixing the dough can lead to dense cookies, so mix just until everything is incorporated.
5. Shape the Dough:
Using a small cookie scoop or tablespoon, form dough balls and place them onto a parchment-lined baking sheet. Leave about 2 inches of space between each dough ball to allow for spreading.
6. Bake:
Bake the cookies in a preheated oven at 350°F (175°C) for 10-12 minutes, or until the edges are slightly firm but the centers are soft. The cookies will continue to firm up as they cool.
Tip: For soft, chewy cookies, it’s important not to overbake them. Remove them from the oven when they’re slightly underbaked in the center.
7. Cool and Decorate:
Allow the cookies to cool on the baking sheet for about 5 minutes before transferring them to a wire rack to cool completely.

Garnishing & Decoration Options:
- Extra White Chocolate Drizzle: Melt some white chocolate and drizzle it over the cooled cookies for an extra touch of elegance.
- Cream Cheese Frosting Dots: Pipe small dots of cream cheese frosting on top of each cookie to make them even more festive.
- Festive Sprinkles: Add holiday-themed sprinkles or a light dusting of powdered sugar on top for a wintery feel.
Notes:
- For a dairy-free version, swap the butter with a vegan alternative and use dairy-free white chocolate chips.
- For a gluten-free version, a one-to-one gluten-free flour blend works best.
Mistakes To Avoid While Making Red Velvet Cookies
- Ingredient Selection:
-
- Using the wrong food coloring: When making these Red Velvet Cookies, it’s crucial to use gel food coloring or a high-quality liquid coloring to achieve that bold, rich red. Some food coloring brands might make the dough too liquidy, so choose one that doesn’t affect the consistency.
- Overmixing the dough: After adding the dry ingredients, mixing for too long will develop too much gluten, which could result in dense cookies rather than soft, chewy red velvet cookies.
- Preparation Pitfalls:
-
- Measuring flour incorrectly: Too much flour will lead to dry cookies. Use the spoon-and-level method to avoid over-packing the flour.
- Not chilling the dough: For the best results and to prevent cookies from spreading too much, make sure to chill the dough for at least 30 minutes before baking. It helps retain the cookie shape, making them perfect for baking for coworkers or gifting.
- Cooking Techniques:
-
- Overbaking: Red velvet cookies are best when they’re soft and chewy. The cookies should be slightly underbaked in the center when you take them out. They will continue to bake on the hot tray. Keep an eye out for firm edges with soft centers, which is the key to the best soft red velvet cookies.
- Uneven baking: As mentioned earlier, rotating the tray halfway through baking will ensure that the cookies bake evenly.
- Seasoning and Flavoring:
-
- Not adding enough vanilla: Vanilla is a key flavor in red velvet cookies. Ensure you’re using real vanilla extract for the best flavor, which complements the chocolate and cookie combinations perfectly.
- Presentation Tips:
-
- Underdecorating: The cookies in the image look inviting because of the balance between the vibrant red and white chocolate chips. Make sure you add enough white chocolate chips on top after shaping the dough balls so they stand out visually after baking.

Pairing Suggestions and Seasonal Variations
Pairing Suggestions:
- Warm Beverages: These cookies pair beautifully with hot cocoa or spiced chai tea during the winter season.
- Milk: A cold glass of milk enhances the flavors and brings out the richness of the chewy red velvet cookies.
- Coffee: For a more sophisticated pairing, serve with a light latte or cappuccino, perfect for a midnight munchies snack or when you’re enjoying these cookies with coworkers.
Seasonal Variations:
- Valentine’s Day: These cookies make perfect gifts for Valentine’s Day with heart-shaped white chocolate pieces or sprinkles on top.
- Christmas: Add festive red and green sprinkles to turn these into Christmas desserts. Perfect for Christmas desserts spreads or Christmas cookie gift boxes.
- Halloween: Swap the white chocolate chips for black food coloring to make spooky Halloween-themed red velvet cookies.
Pro Tips:
- Chilling the Dough: As mentioned earlier, chilling the dough for at least 30 minutes will prevent the cookies from spreading too much and ensure thick, chewy cookies.
- Make them Ahead: These cookies freeze well. You can freeze the cookie dough balls, then bake them whenever you’re ready for fluffy red velvet cookies. Just add an extra minute or two to the baking time.
- Even Shaping: To get cookies that are the same size and bake evenly, use a cookie scoop to portion the dough.
- Creative Add-ins: For extra flavor, add chopped nuts like pecans or even a swirl of cream cheese frosting to the top of the baked cookies.

FAQs:
- Can I substitute the white chocolate chips with another type? Yes! You can substitute with dark or milk chocolate chips, or even crushed nuts for more texture. Some people even use cream cheese bits for extra richness.
- How should I store the cookies? Store the cookies in an airtight container at room temperature for up to 5 days. You can also freeze the dough or baked cookies for up to 3 months.
- Do I need food coloring? Red food coloring gives these cookies their signature look, but you can skip it if you prefer a more natural look. You will still have tasty chewy cookies, but they won’t have that signature red velvet color.
- How can I make them gluten-free? You can use a 1:1 gluten-free baking flour substitute for the all-purpose flour, but make sure to chill the dough for longer to avoid the cookies spreading too much.
Closing Thoughts
These red velvet cookies are sure to become a hit in your house or at any party. Whether you’re baking for coworkers, serving them as party appetizers recipes, or simply enjoying them with a glass of milk, they deliver flavor and satisfaction with every bite.
Don’t hesitate to try them out, and make sure to experiment with toppings and mix-ins to make them your own!
We’d love to hear how your cookies turned out! If you tried any unique variations, drop a comment below or share your creations on social media. Happy baking!

Red Velvet Cookies
Ingredients
- 1 ½ cups 190g all-purpose flour
- 2 tbsp 15g cocoa powder
- 1 tsp 5g baking soda
- ¼ tsp 2g salt
- ½ cup 115g unsalted butter, softened
- ½ cup 100g granulated sugar
- ½ cup 100g brown sugar
- 1 large egg
- 1 tbsp 15ml milk
- 1 tsp 5ml vanilla extract
- 1 tbsp 15ml red food coloring
- ½ cup 90g white chocolate chips
Instructions
- Preheat oven to 350°F (175°C). Line a baking sheet with parchment paper.
- In a bowl, whisk together flour, cocoa powder, baking soda, and salt.
- In another bowl, cream butter, granulated sugar, and brown sugar until fluffy. Add egg, vanilla, milk, and red food coloring.
- Gradually mix the dry ingredients into the wet mixture until combined. Fold in white chocolate chips.
- Scoop dough balls onto the baking sheet, leaving 2 inches between each.
- Bake for 10-12 minutes, or until edges are firm but centers are soft. Cool on a wire rack.
Notes
- Drizzle melted white chocolate over the cooled cookies for an elegant finish.
- Cream Cheese Frosting: Pipe small dots or swirls of frosting for added sweetness.
- Festive Sprinkles: Add some holiday-themed sprinkles for a fun, festive touch.


